
Seal the front of the interlining. On the inside of the iron strengthen the seal for bags.

We sew our sandwich. Fix the longitudinal seam. Sew on the seal at a distance of 2-3 mm from the edge.

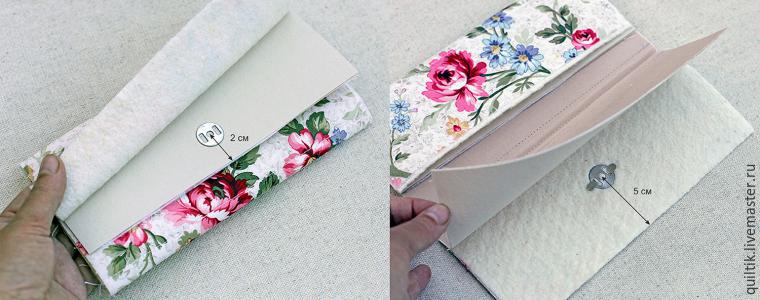
Install a magnetic clasp.
1. The external valve. Are folded and the front of the lining. Set the clasp on the seal.
2. The internal valve. Unbend seal. Fix a clasp on the gasket and the front part.
2. The internal valve. Unbend seal. Fix a clasp on the gasket and the front part.
Stitching all layers.


Rounded corners cut off.

The outer part of wallet is ready.

The inside of the wallet.
1. Rectangle pre-taped interlining. Size 19x18 cm. The outer part of the pocket for coins. 1 pc.
2. Rectangle pre-taped interlining. Size 19x17,5 cm. For the inside of the pocket for coins. 1 pc.
3. The rectangles for decoration ends zipper. The size of 3x4 cm, 2 pcs.
2. Rectangle pre-taped interlining. Size 19x17,5 cm. For the inside of the pocket for coins. 1 pc.
3. The rectangles for decoration ends zipper. The size of 3x4 cm, 2 pcs.
4. Zipper with movement restricted to 16 cm.

Pattern accordion. Fit into a rectangle 10 (height) x 15 (height) cm.

We make out our zipper. Excess cut off. workpiece length should be 19 cm.
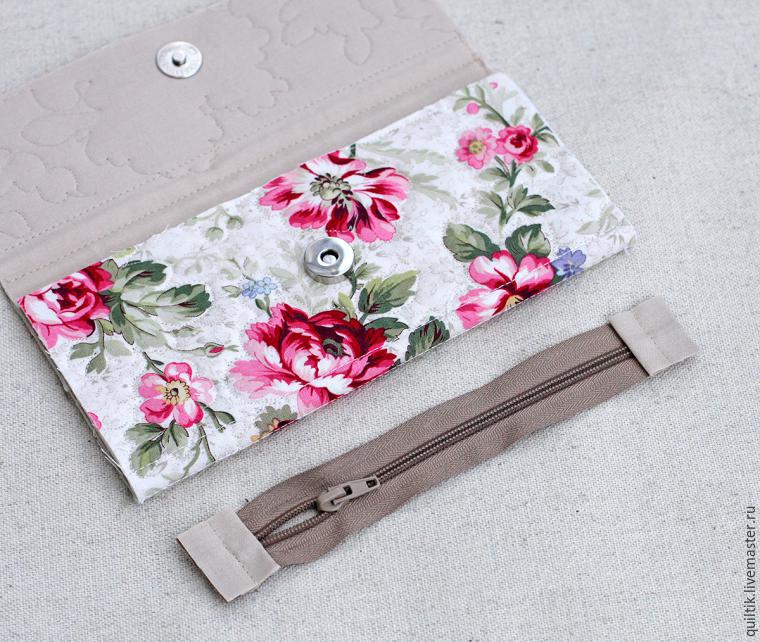
Add up rectangles and zipper on the long side. The larger the rectangle are putting to the front of the zipper, smaller - to the back of the zipper. Sew.

Similarly, the second side to stitch. Should get a kind of figure eight
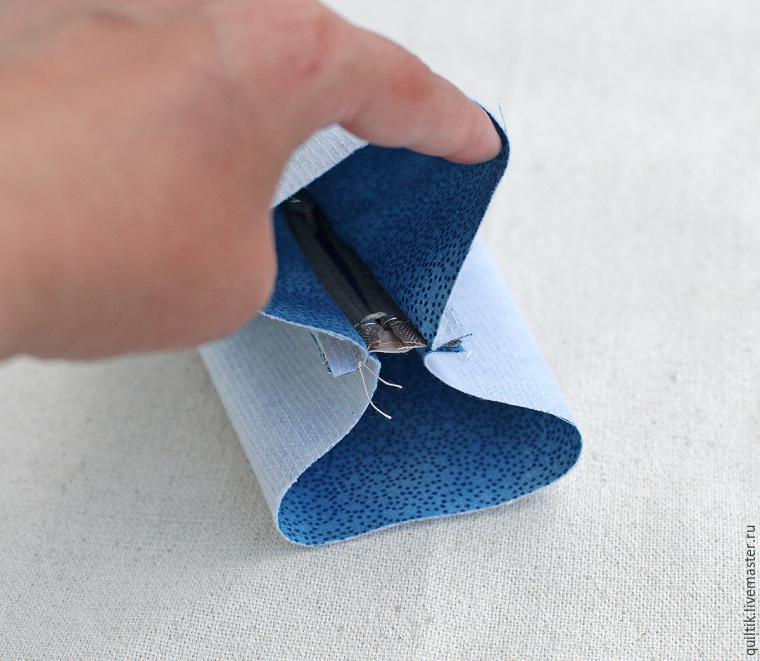
Wrenched our pocket pulling on larger rectangle in the lower. Ironed.

Fix our construction on the sides of the seam to it was easier to work.
Pocket should lie comfortably in a purse with a margin width and height.
Pocket should lie comfortably in a purse with a margin width and height.
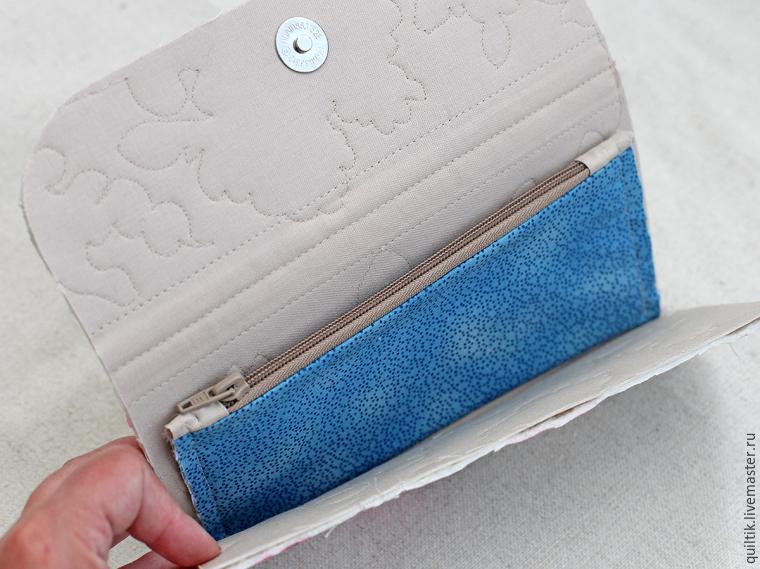
Add up blanks facing each other, to stitch on top and bottom. We gut-wrenching, ironing, fasten.

We go around the edge of the accordion pocket so that the folds of the corners on the same level. We sew at a distance of about a centimeter from the edge.


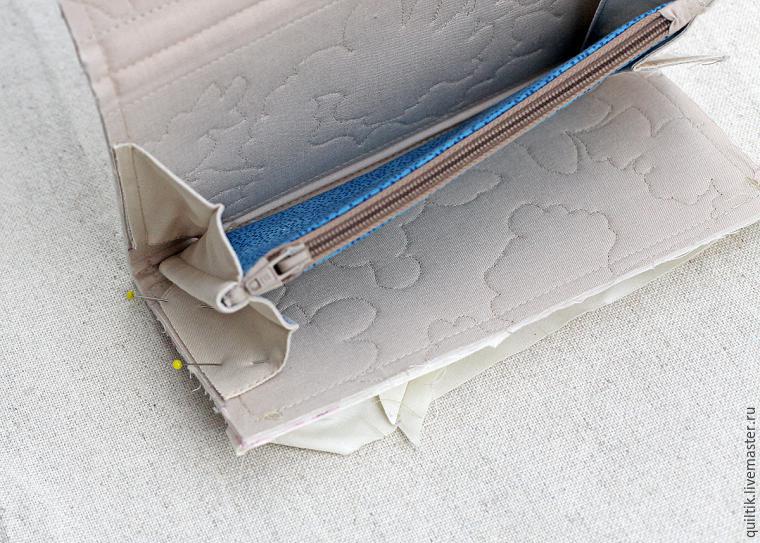
It is convenient to lay our pocket in the purse, close it. Make a mark where the accordion to sew to the base.

And now the most laborious - to complete all the pieces together. Accordion sewn to the rear of wallet.

Then sew Bias binding on the entire circumference.
Wallet ready!


Such a great tutorial! Thank you!
ReplyDeletegracias excelentes tutoriales abrazos
ReplyDeletethank you
ReplyDeleteThanks so much for sharing this. I was wondering if you can maybe just explain a little how you attached the binding all around the wallet. Is it sewn by hand?
ReplyDeleteLindíssima!😍
ReplyDeleteA neat little wallet with clear instructions. Thank you.
ReplyDeleteGod bless you for this. You"re so great!
ReplyDeleteThis is a great tutorial and would be awesome to have it in pdf form to print. Thanks for sharing.
ReplyDeleteHas anybody made this here? Is it hard?
ReplyDeleteBeautiful, thank you.
ReplyDeleteIt is a great pattern but the hardest part is sewing on the binding is missing from the tutorial - it gave me a hard time
ReplyDelete