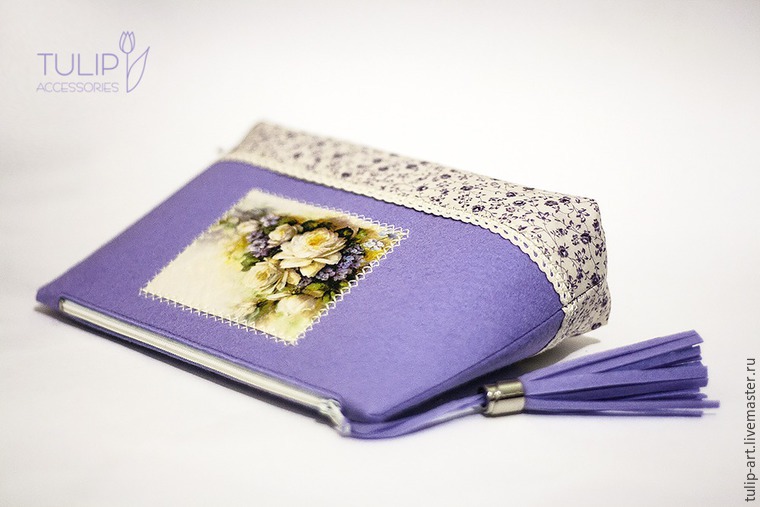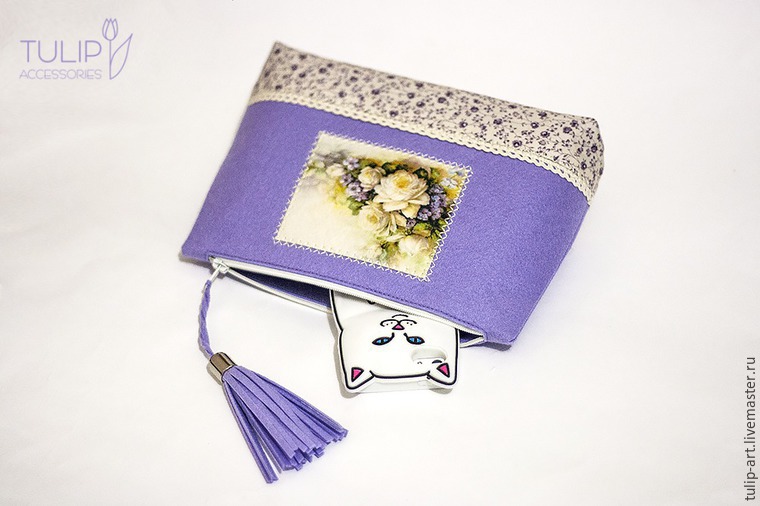
I offer you to sew a very spring vanity-case. I also want to show how you can combine felt with cloth and leave it, at the same time, the main working material.
You need:
- thick felt 1.2 mm
- matching fabric
- a little fusible webbing
- zipper
- decorative elements — a piece of cotton lace, iron-on image and light colour felt for it
- metal findings


Pay attention that the fabric is duplicated with fusible webbing to prevent fraying.
So, make the outer side of the vanity-case: sew the felt piece with cloth.
*By the way, Ferrero Rocher boxes are perfect for storing threads, you can see everything inside and the size is great :))


Now it is the time for iron-on image.
1. Cut out the desired image along the contour from an iron-on sheet. It can be cut with or without seam allowances, as you wish. The piece of felt to transfer on should be a little larger than the image. Only light shades of felt are suitable for this work, I took pale cream colour, 1.0 mm thickness.
2. Clear felt of all dusts and hairs, otherwise they will be visible. Sticky roller is perfect for that.
3. Put the picture with the plaid side up on the felt. Meanwhile, warm up the iron.
How to select the right temperature? It is necessary to select the temperature mode by a test for each felt. The test: take a scrap of felt and lay it on the iron. Gradually add temperature until the felt begins to curve at the corners, then low down temperature a little bit. Thus, you find the maximum temperature at which felt doesn't melt for 30-45 seconds.
Pay attention! Don't be afraid to add temperature. The hotter the iron, the more iron-on paper likes it. Or there's a danger to spoil your work when the image doen't trasfer on felt.
Don't be afraid of all these difficulties, make this test to know exactly how to warm the iron.
4. When the temperature is selected, just put the iron in the middle of the image for 25-30 seconds :)

5. Take the iron away and allow the pattern to cool down completely. I do not recommend to remove the protective layer from hot felt — the picture loses its gloss.
6. Trim the excess of felt while all cools down. Not necessarily, but I usually do it at this step. I recommend to use a sharp knife, not scissors.
7. Finally, remove the protective layer, gently hocking it from a corner. It is easily removed when all is done correctly.
8. Here it is, here it is — tears of joy!

And sew it to the main dateil.
A lifehack: glue the picture with a stationery glue on the back side to fix it to felt before stitching.


Now you can sew in the zipper.
Take a thin (not like mine) needle and a contrasting thread for tacking on. Insert the zipper into the slot of the upper side of the case and tack on.


The vanity-case is ready, turn it outside in, gently straighten all corners and sew the hole for turning.
You could stop here, but I wanted a "cherry" — a tassel on the zipper.
Take a piece of felt and line it as shown in the photo. Step a little from one edge.


0 comments:
Post a Comment