Colourful Felt Pencil Case With Your Own Hands

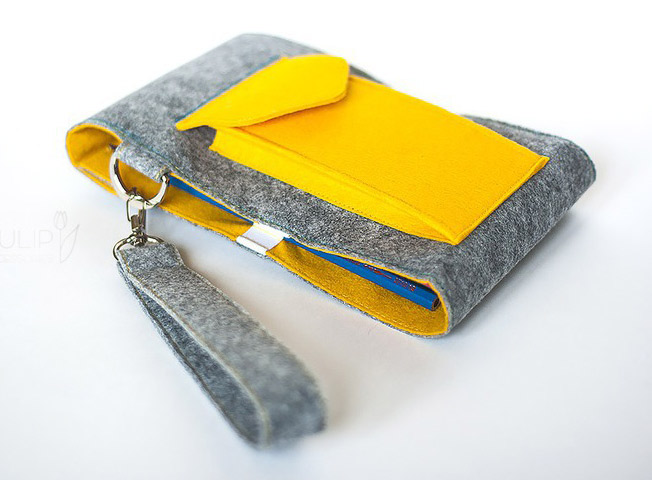
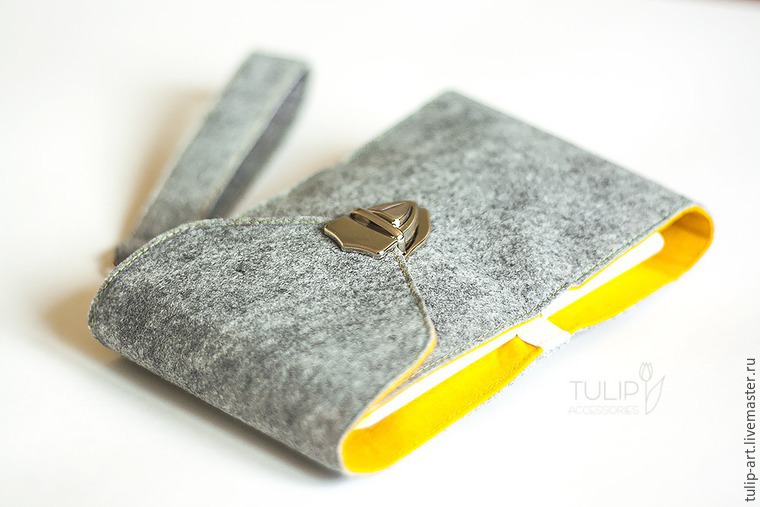
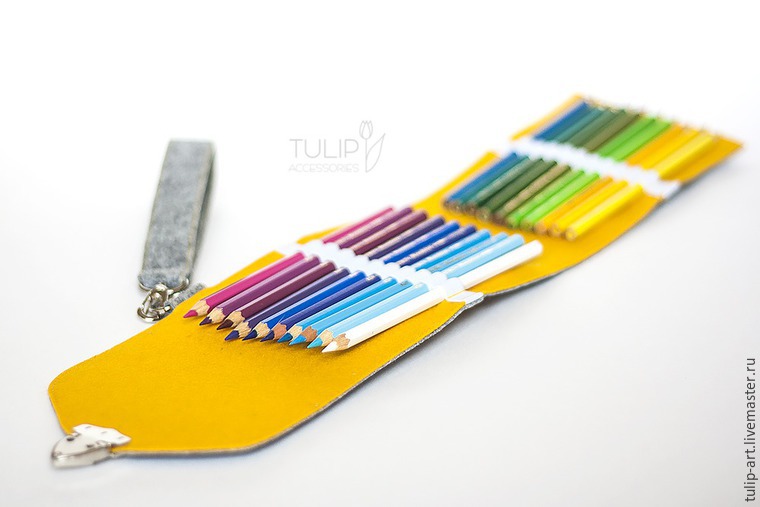
Today I'm going to show you how to sew a capacioius and bright pencil case for pens, markers and other stationery. I think it can be adapted for knitting things — short needles. My pencil case holds 20 items in the main compartment plus a snap pocket where you can put all sorts of things — erasers, sharpeners and others.
You need
- felt of two fitting colours
- elastic tape 10-15 mm wide
- metal findings — magnetic buttons or other locks, ring or half ring and carabiner for strap
Cut out all details per 1 pc, exept for small flaps — there should be 2 pieces. Take elastic and findings.
 Begin sewing! First prepare the elastic — it should be marked at
approximately every 15-18 mm. This can be done with a ruler and marker.
 Now the elastic is sewn to one of the two major details, to a yellow
blank. For this, pin them, combining the markings at every1 cm.
I applied markings on the yellow blank with the same yellow marker, so it is almost invisible, but it is still there :) Its presence is necessary in order to sew the elastic evenly.
 Stitch the elastic from one side, the pin can be removed.
 Combine the next marking on the elastic with the marking on felt, moving the first a little forward.
 Lay out all elastic this way.
 Repeat the steps on the other side of the detail with the second
elastic. That's done! Start assembling a pocket for small trifles.
 Combine two rectangular parts and stitch.
 Now bend the sides of the larger detail on the smaller one and stitch.
 Until a bottom is left open, put the down part of the magnetic button on one of the parts through it.
 Assemble the flap. To do this, prepare two parts.
 And sew them along the line.
 Put the upper part of the magnetic button. You can actually do it now or
later. I like putting them at the end, since the magnet likes sticking
to the stitching machine, sometimes quite strong and sometimes it is
uncomfortable to work.
 Cut the excess exactly along the seam allowances.
 Now combine the pocket with the main grey detail. Tack it on at the sides.
 Stitch and remove the tacking.
 Now tack the bottom of the pocket. The flap can (and should) be attached to the button.
 Stitch the bottom, remove the temporary seam. At this step the flap is
stitched. To close the pocket well and to make the details of the
buttons coinciding, do not disconnect them. The pocket is ready.

 Let's make the strap. Cut out two strips of felt of 35-40 cm length: the
width should correspond to the half ring and carabiner's width.
 Sew the strips together.
 Cut off a piece about 5 cm from the tape, it will be used for the loop of the half ring.
 Put it on, fold the felt strip in half and stitch.
 Put on the carbine. Let out the stitches a little on one end of the
strap and insert the opposite end between the felt strips as shown in
the photo.
 Stitch all.
 Fasten the carbine with one more stitch.
 Now the last remains — to assemble the entire structure together) Tack loop with a semicircle to one (any) of the main part.
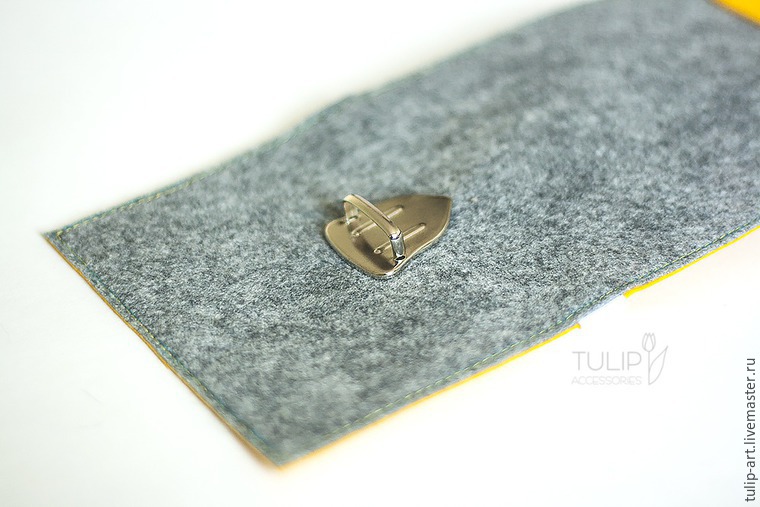
 At this step you should put the fastener of the main lock of the
pencil case, I missed this photo, but further on you will see how it
goes (also marked on the pattern).
Now you need to stitch the two main details, exactly combining them together.
 When stitching, try not to pierce the ends of the elastics — just stitch these places with a longer stitch.
 Now cut the allowances in the places where the elastic sticks out, as shown in the photo.
 And carefully fold the tips of the elastics between the grey and yellow details. Make this for all 4 ends.
 Stitch the blank along the perimeter.
 Take away the running thread and trim the excess of the allowances along the seam. Set the remaining part of the lock.
 Here is the stitch on the side: the ends of the elastic are carefully hidden.
 Here is how the lower part of the fastener looks like — the one I forgot
to take a picture of when installing. It is put on the same principle
as the magnetic buttons (through slits).
 The pencil case is ready! You can fill it :)


source: TULIP Termotransfery & fetr

Today I'm going to show you how to sew a capacioius and bright pencil case for pens, markers and other stationery. I think it can be adapted for knitting things — short needles. My pencil case holds 20 items in the main compartment plus a snap pocket where you can put all sorts of things — erasers, sharpeners and others.
You need
- felt of two fitting colours
- elastic tape 10-15 mm wide
- metal findings — magnetic buttons or other locks, ring or half ring and carabiner for strap
Cut out all details per 1 pc, exept for small flaps — there should be 2 pieces. Take elastic and findings.


I applied markings on the yellow blank with the same yellow marker, so it is almost invisible, but it is still there :) Its presence is necessary in order to sew the elastic evenly.


Now you need to stitch the two main details, exactly combining them together.


0 comments:
Post a Comment