Handmade Package for All Occasions
I have long wanted to publish a tutorial on making packages :) Hope, the DIY is simple and easy.
So, you need:
- designer paper (different options, paper for scrapbooking, Kraft paper, etc.)
- glue (I use Moment Crystal. Do not use PVA - it makes paper soggy)
- any decorative elements (rep ribbons, pearl half beads)
- puncher (use it depending on the planned design)
- scissors (if necessary)
I used designer paper A4 format. I like yellow :)
The work requires much accuracy. Fold the bottom edge at 3 cm, it is the bottom of the package. Just mark it.
Now make a perpendicular fold, fold the sheet in half. Leave 1cm gap, so you could glue the blank later.
The remaining gap is folded inwards:
Then apply glue on the gap and glue the blank. You should get that sort of thing:
Next — identify the width of the package and make the bends. Get something that is similar to a package :)
Now combine the side walls inwards. It is important to do this evenly so that the package does not twist :)
Do the same thing from the other side
Move to the bottom. Bend the corners along the marked line:
And the hardest part :) Fold the bottom along the lines. Tried to make the most detailed photos
Get the following:
That's what comes out:
Now to glue the bottom carefully, and fold the bag like this:
It remains only to glues the bottom, and the package is ready :)
Open it and see what you've made :)
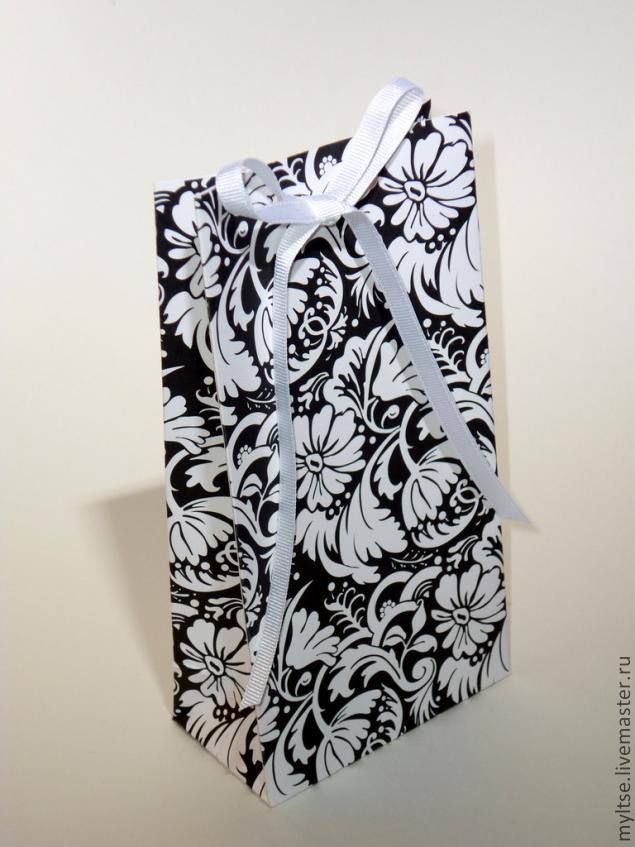
And then all depends on your flight of fancy. Here is my version, the easiest :)
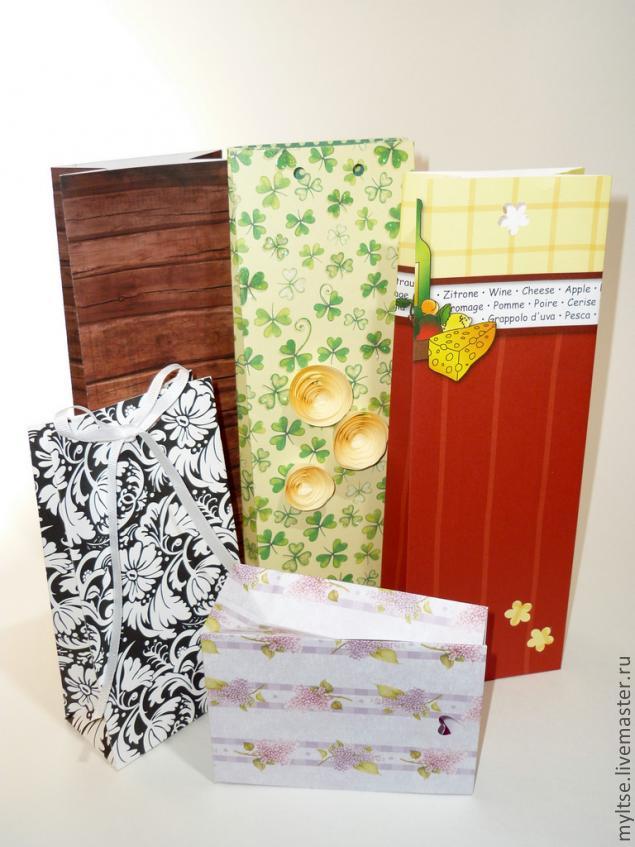
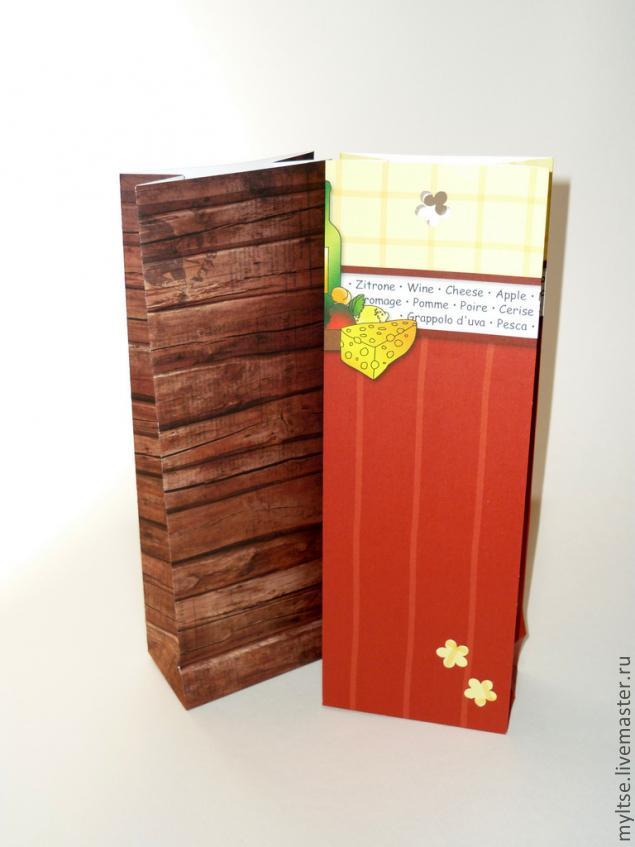
Or here is a selection of packages of scrapbook paper :) In my opinion, they look very nice:


0 comments:
Post a Comment