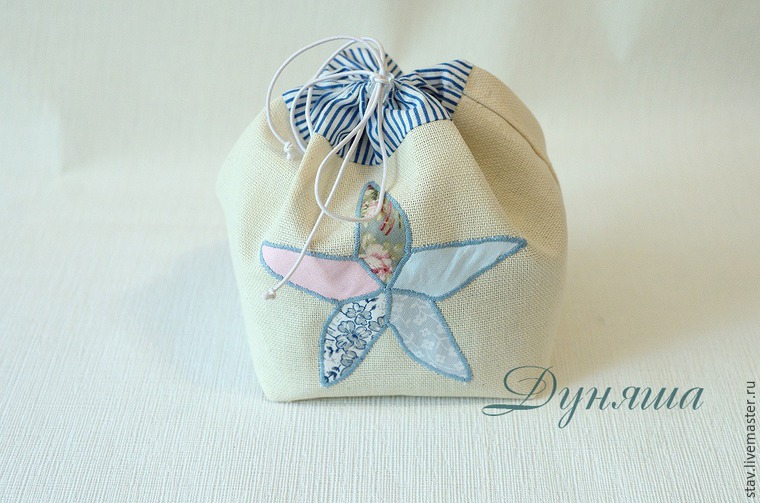
Today I want to share with you the idea that came to my mind
recently. Of course, the idea is weel spread but maybe useful to someone
who wants to pack their items in a handmade bag.
So, I was sewing such a bag for the fancy jewelry casket.
For this you need:
- pieces of different fabrics
- fabric for the base, I used two-ply cloth
- elastic and a catch for it;
- beads for decoration.
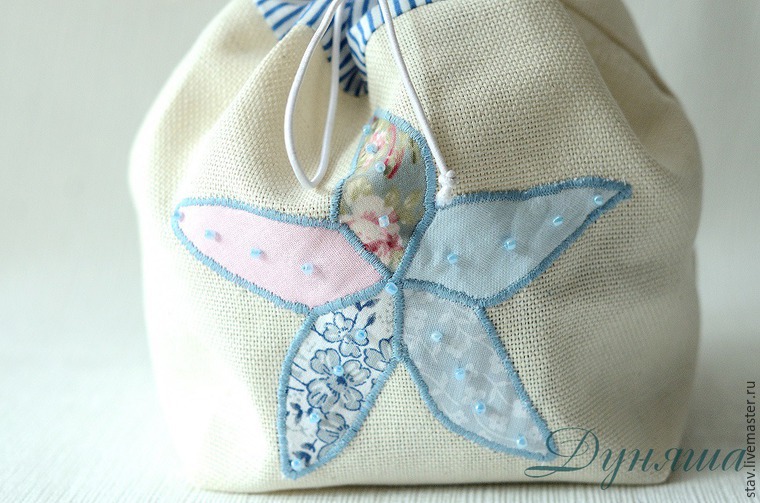
Once we have the theme of star, the application will be in the form of stars, but not simple — a starfish.
To begin with, learn the diameter of the box — 13 cm: bottom 14 cm
wide and 7 cm high, the edges 6.5 cm + 1 cm from one side for the seam
allowance. So cut a piece of fabric: 56 cm wide and 17 cm high, fold it
in half, draw the pattern like below, cut it out.
Here's what you should have:
I cut out a striped piece of fabric 56х7 for the top of the bag.
Now draw a star. Here I also made some calculation: drew a circle
with the diameter of 13 cm, divided it into five equal sections with a
protractor (every 72 grades), draw another circle with a radius of 2 cm
inside, and that's what came out.
Then transfer this picture on tracing paper, cut out each ray
separately, transfer to fabric and cut out again. Enumerate for
convenience.
Placed the carved motif on the center of one half of the blank, do not
forget about the allowances, stitch with a zigzag on the sewing machine.
Take all threads to the back side, knot them, hide between the fabric and applique.
So it looks from the back side.
Now sew a strip of fabric, perfect the edge.
Stitch the side edge of the bag. I usually overcast edges, it is stable
and does not require additional processing. Stitch the bottom the
following way, perfect the cuts.
Iron the pouch with its upper edge folded (5 mm), fold 1.5 cm more (for
the drawstring), iron again, then the top turns out neat. The slot for
the elastic is made with a loop cutter, it can be manually overstitched.
Pass the elastic, it needs to be slightly longer than the hole of the pouch, put on the catch.
The gift bag is ready, but I'd like to decorate it a little more, take the beads and sew them in the middle of each ray.
Well, that's all. Wanted to show you a few more examples with other
appliques, but I doubted if it could be done in the framework of the
tutorial or not. I really hope that someone will find it useful.
Author:
"Dunyasha" tvorcheskaya masterskaya


0 comments:
Post a Comment