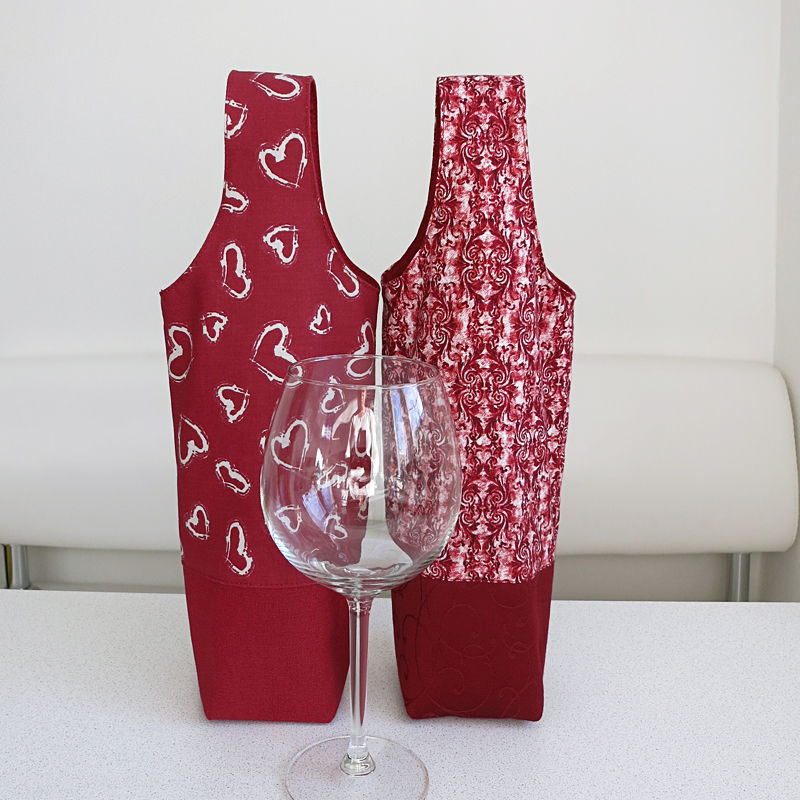
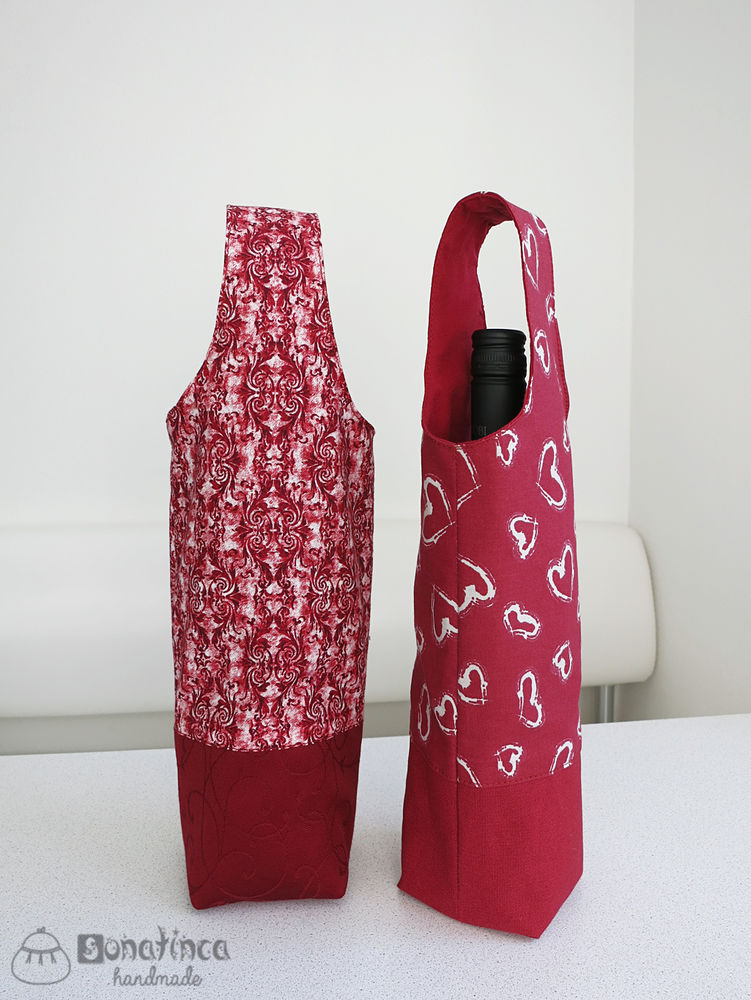
How to make a wine bag. I offer you my version of a cute and useful gift bag for bottles. This bag will fit standard 0.75 bottles, and large — 1 liter.

In addition to usual sewing supplies you need:
1. Fabric of the two types (or one).
2. Lining cloth.
3. Pinking shears (optional).
4. Pattern (see the picture below).
Step 1. Print out the pattern. To test the accuracy of the pattern on it there are control segments of length 1. The arrow indicates the direction of the warp threads. Pattern is given without seam. The recommended allowance is 1 cm.
Before you start sewing, I recommend to read the entire manual to the end.

 For convenience of printing on standard A4, the pattern is divided into
two parts. Cut them out and glue along the dotted line following the
triangular pointers.
 Step 2. Cut out two parts of the lining. Don't forget to add allowances on all sides of the pattern. The details are put with their right sides
tigether and stitched, at top and bottom, as shown by the dotted line in
the picture. Iron the allowances on both sides.
 Step 3. Then, stitch the side seams of the bottom.
 Step 4. Now cut the pattern at the lines marked with scissors.

Step 5. You will have two separate parts, 1 and 2. Cut out two pieces of each detail from the right side fabric of two types. Don't forget to add allowances on all sides of the pattern.
Step 6. Take one part 1 and one part 2, fold them face to face and sew along the cut line. Do the same with the second pair of details.
 Step 7. Iron the allowances on two side of the top and stitch at a distance of 1-2 mm from the seam.
 Step 8. Folsd the resulting two parts of the main fabric with the right sides togethes and repeat steps 2 and 3.
 Step 9. Turn the lining outside in and insert it into the main blank so
as to join the upper seams, side seams, as well as the circle cuts.
 Step 10. Pin the cuts or sew, and then stitch.
 Step 11. Extra allowance is cut with the pinking shears at 1-2 mm from
the seam. Do the same with the allowances of the circular cuts (do not
cut off).
 Step 12. Through the unsewn side, turn the bag outside in. Gently smooth
the seams and allowances. Fold the allowances along the circle to the
inside, pin and stitch. Stitch from the other side.
 The bag is ready!
 Author: sonatinca

In addition to usual sewing supplies you need:
1. Fabric of the two types (or one).
2. Lining cloth.
3. Pinking shears (optional).
4. Pattern (see the picture below).
Step 1. Print out the pattern. To test the accuracy of the pattern on it there are control segments of length 1. The arrow indicates the direction of the warp threads. Pattern is given without seam. The recommended allowance is 1 cm.
Before you start sewing, I recommend to read the entire manual to the end.


Step 5. You will have two separate parts, 1 and 2. Cut out two pieces of each detail from the right side fabric of two types. Don't forget to add allowances on all sides of the pattern.
Step 6. Take one part 1 and one part 2, fold them face to face and sew along the cut line. Do the same with the second pair of details.


Thank you, nice looking bottle carrier.
ReplyDeleteSomething is wrong here. I was excited t have these for my family Christmas gift exchange and it took me three days to figure out how to get this right before giving up and making it my own way. No way should you have the lining right side out and the outer piece inside out and turn the bag and have it completed. And only sewing half the handle creates two bags when turned.
ReplyDeleteIs there a step missing in your instructions? Do you have a video of you making it?
Please help! Thanks!!
The outer is turned inside out. The lining is right side out and fitted into the outer layer so right sides are together/facing each other. Then after sewing around one side of handle turn right sides out through unsewn side and put lining inside the outer bag.
DeleteIt did seem confusing to me as well. I went ahead and read it anyway to see if it was easier then what I did. Mine seem to go together pretty fast, the only problem being the video was in Russian so you only had the pictures to go by.
ReplyDeleteI made it all in one colour but added wadding/batting layer. The right sides need to be together when stitching together and it does turn through the unstitched handle side. If I had thought yo make the handles an inch or two longer I would have top stitched around them.
ReplyDelete