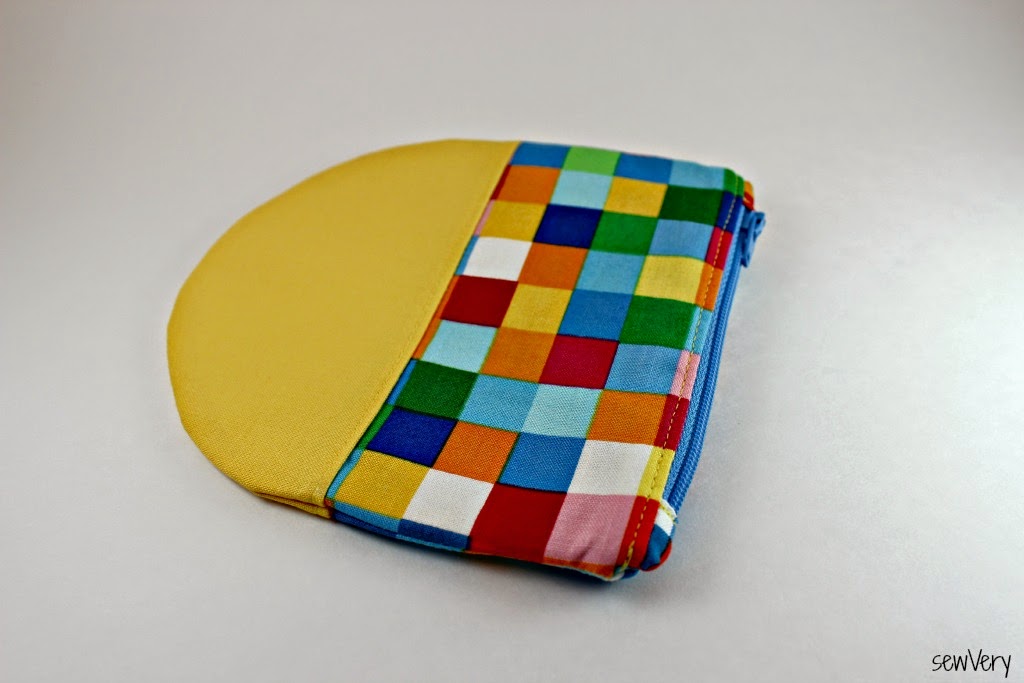

Rainbow Remix by Ann Kelle fabric
Coordinating Kona Cotton
Interfacing (Pellon Shape Flex or Lightweight Fusible)
5" zipper
Thread
Scissors
Sewing Machine
Iron and Ironing Board
Chopstick or Bodkin
Supplies for Wristlet
2" x 1.5" Piece of Coordinating Kona Cotton for Wristlet Tab
2" x 20" Piece of Coordinating Kona Cotton for Wristlet Strap
1 Swivel Lobster Clip with a 1/2" D-ring Connector
Assembly
Seam Allowances are 1/4". Finished pouch measures 5 1/2" x 5 1/2".
Print out the Remix Pouch Tutorial Template.
Cut 2 Upper Outer pieces and 2 Zipper Tab pieces using the Rainbow Remix fabric and 2 Lower Outer and 2 Lining pieces using the solid Kona Cotton. NOTE: To make a Remix Pouch with a single outer fabric, simply use the Lining pattern piece for both the Outer pouch and the Lining.
Cut out 2 pieces of interfacing for each pattern piece. TIP: Cut the interfacing minus the 1/4" seam allowance. This will help reduce bulk in the finished seams.
Fuse the interfacing to the back of each corresponding fabric piece. NOTE: If sewing a Remix Pouch with a single outer fabric, skip to Step 7.


A. Lay out the fabric for each Zipper Tab.
B. Fold the Zipper Tab in half with wrong sides together (WST) and press.
C. Fold in each short end of the Zipper Tab approximately 1/4" with WST and press.
D. Fold along the center crease again and press well.


A. Open the Zipper Tab and place the zipper end on top of the folded end. TIP: Use a small piece of Wonder Tape along the end of the zipper to temporarily secure it to the folded end of the Zipper Tab.
B. Fold the Zipper Tab so that the zipper end is now encased inside the Zipper Tab. Using your zipper foot, sew across the edge of the Zipper Tab to permanently secure it in place.
C. Trim the edges of the Zipper Tab so that it is the same width as the zipper.


A. Flip the Outer piece and the Lining piece so they are now wrong sides together (WST). Press the seam.
B. Using a zipper foot, topstitch along the seam 1/8" from the edge.
C. Line up the remaining Outer and Lining pieces with the zipper as done in Steps 10 and 11, then repeat Steps 12A and 12B for the other side of the zipper.

A. Lay out the fabric for the Wristlet Tab.
B. Fold the Wristlet Tab in half with WST and press.
C. Open up the fold and fold in the edges WST to the center crease. Press.
D. Fold again along the center crease and press.
E. Topstitch 1/8" away from both long edges.
F. Fold the tab in half and baste across the raw edges.


A. Press under the edges of the opening in the Lining and pin together.
B. Sew the opening closed using a 1/8" or smaller seam.


A. Fold the fabric in half and press. Open and fold in the ends by 1/4" and press.
B. Fold in each long edge toward the center crease and press.
C. Fold along the center crease again and press well.
D. Topstitch around all edges.

A. Feed one end of the Wristlet Strap through the d-ring of the swivel hook. Pull the end through roughly 1".
B. Overlap the ends of the Wristlet Strap by 1/2" and secure in place by sewing through all three layers. Sew a second row of stitching closer to the d-ring for added security.
C. Clip the Wristlet Strap onto the Wristlet Tab.


0 comments:
Post a Comment