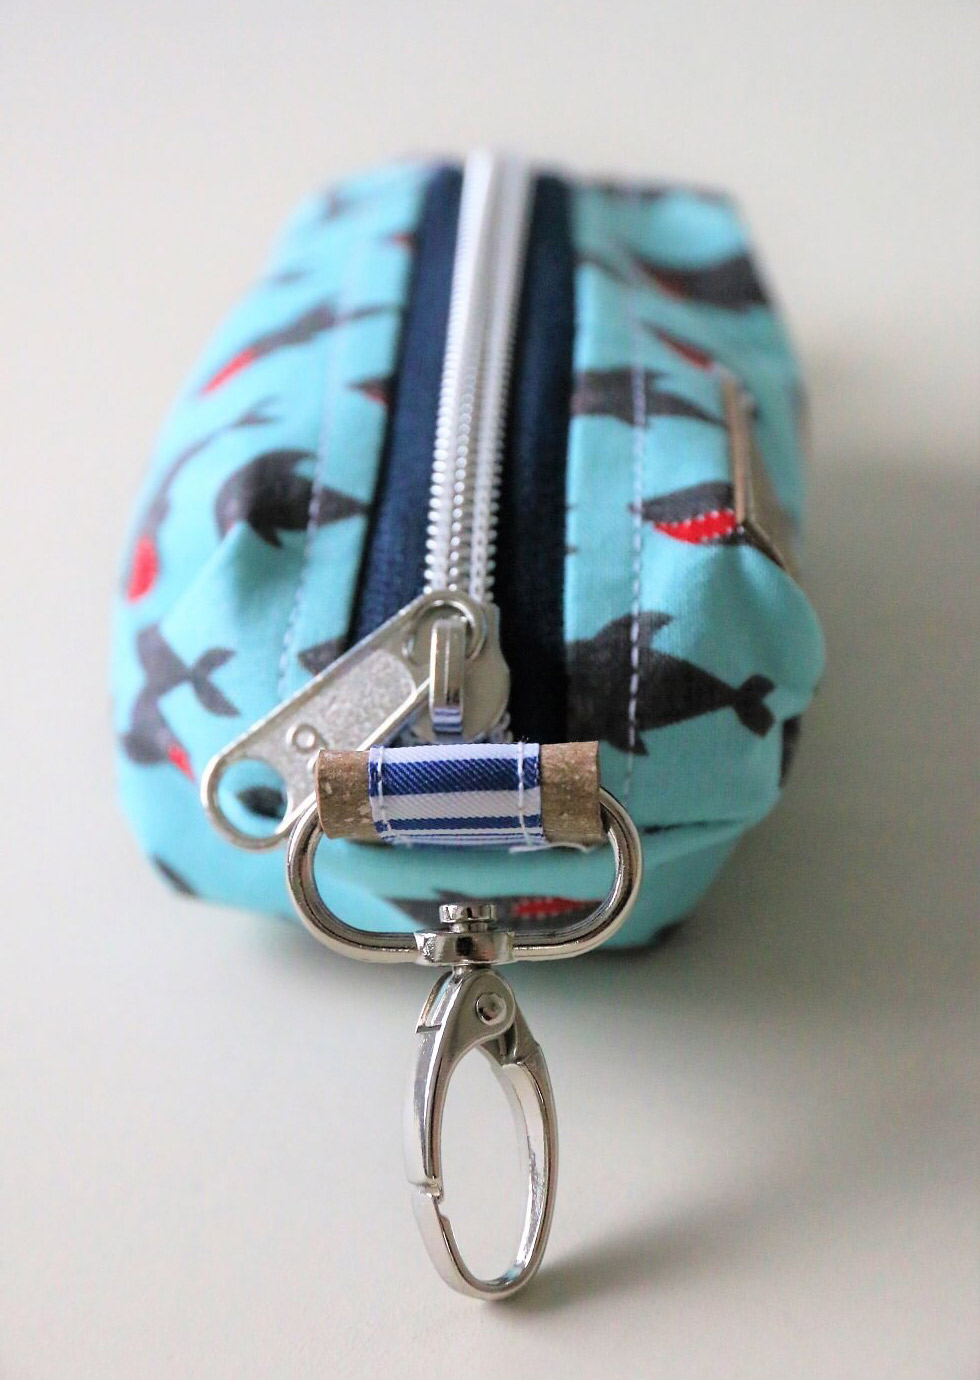
The corners of the keyhole are not sewn, but folded. This creates a crunchy look, which nevertheless has an appealing shape. If the bag is pressed together, the seams will automatically follow.
The finished keybag is without loops 13 cm long, 7 cm wide and 5 cm high.

2 cuts of fabric - each 6 x 17 cm - backside reinforced with Decovil light
1 section of fabric - 12 x 17 cm - backside reinforced with decovil light
For the inside
2 cuts of liner - each 6 x 17 cm
1 section of lining - 12 x 17 cm
Also
20 cm Endless zipper with zipper
3 pieces Releda, each 2.5 cm wide and 7 cm long
2 carabiners, 2.5 cm wide
if you like: woven band, label or a great maritime pendant as decoration
Fasten the zipper to the zipper and close the zipper claw with a few stitches (by hand or sewing machine).
Then put the zipper with the right side on the longitudinal edge of a narrow outer part and sew it with a straight stitch.


Hold, leave the needle in the fabric, twist the fabric slightly, and slide the zipper past the presser foot. Then you can relax sewn. 🙂
Remove all parts from the zipper.

In the middle of the zipper ends you can now sew two of the loops from Releda. One with carabiner, one without.


Because of the wide zipper, I did not make this work step with the overlock. In a thinner zipper, however, I would close the short sides with an overlock seam.

Put a mark on all four corners and on both sides of the bag, 3 cm from the seam.

Repeat at the 3 remaining corners.

Shorten the corners a little and turn the case.


0 comments:
Post a Comment