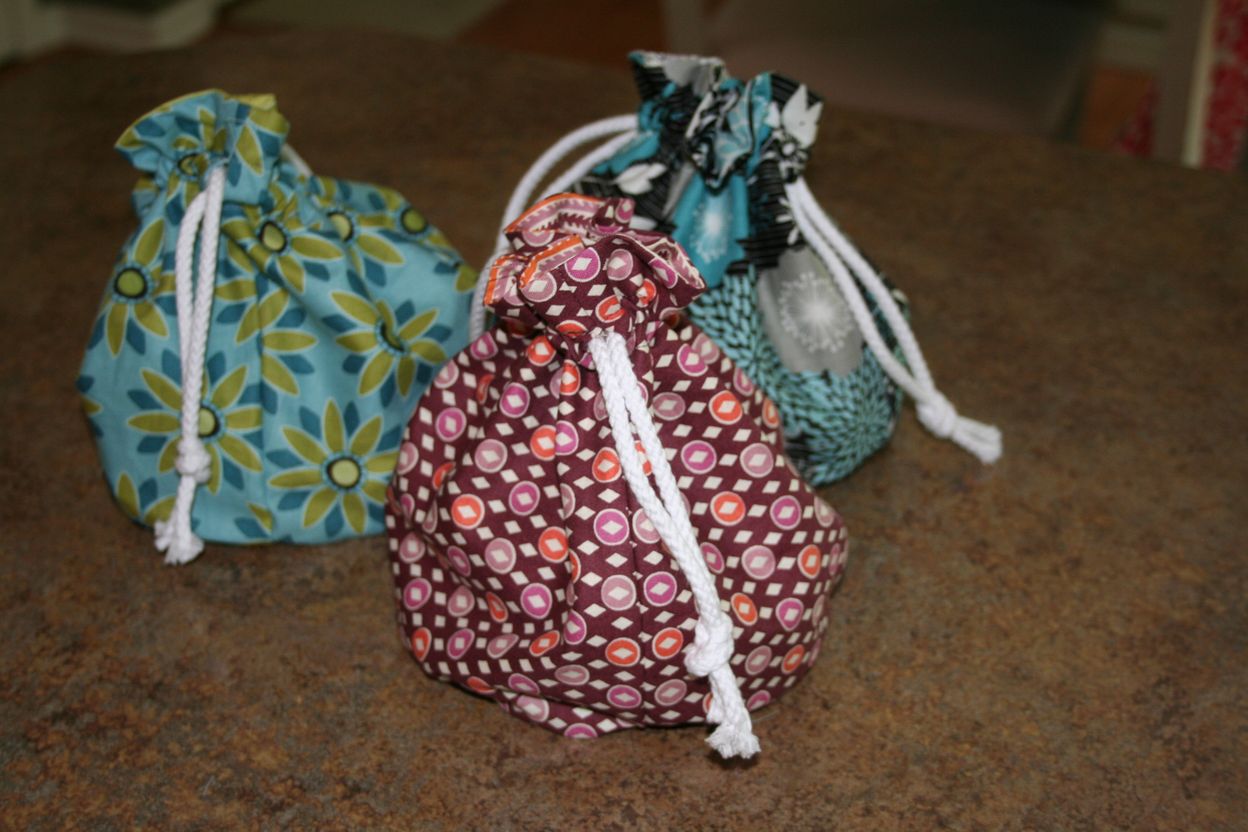
These bags make the perfect treat bags for a small birthday party. The kids get some goodies and a bonus drawstring bag to store special treasures. Eleanor had decided hers is now her “special purse.”
Supplies you’ll need:
- two fat quarters (I suggest one light one for the inside of the bag, so things inside are easy to see)
- 1 yard of 3/16″ cording
- one compass, or a fancy circle cutting tool if you have one
- disappearing ink marker
** all seams are 1/4 inch
Square up your fabric.
Cut one 19″ x 8.5″ rectangle from each of the two fat quarters.
Turn over the rectangles and on ONE side of each, make marks at the 1″ and 2″ points down the side. You will need these to keep a 1″ opening for the cording. In addition, on the LINING only, make an additional set of marks at 4″ and 7″. (This will be used to turn the bag right side out.)
Set your compass so that it will result in a 6″ diameter circle. I use my cutting mat to make sure the 3″ radius is accurate.
Draw the circle on the lighter fabric, then cut them both out.
Fold the rectangles right sides together and sew along the short sides. Be sure to leave the 1″ opening on the outer fabric and both the 1″ and 3″ openings on the lining fabrics.
Iron open the seams. You should now have a tube of fabric.
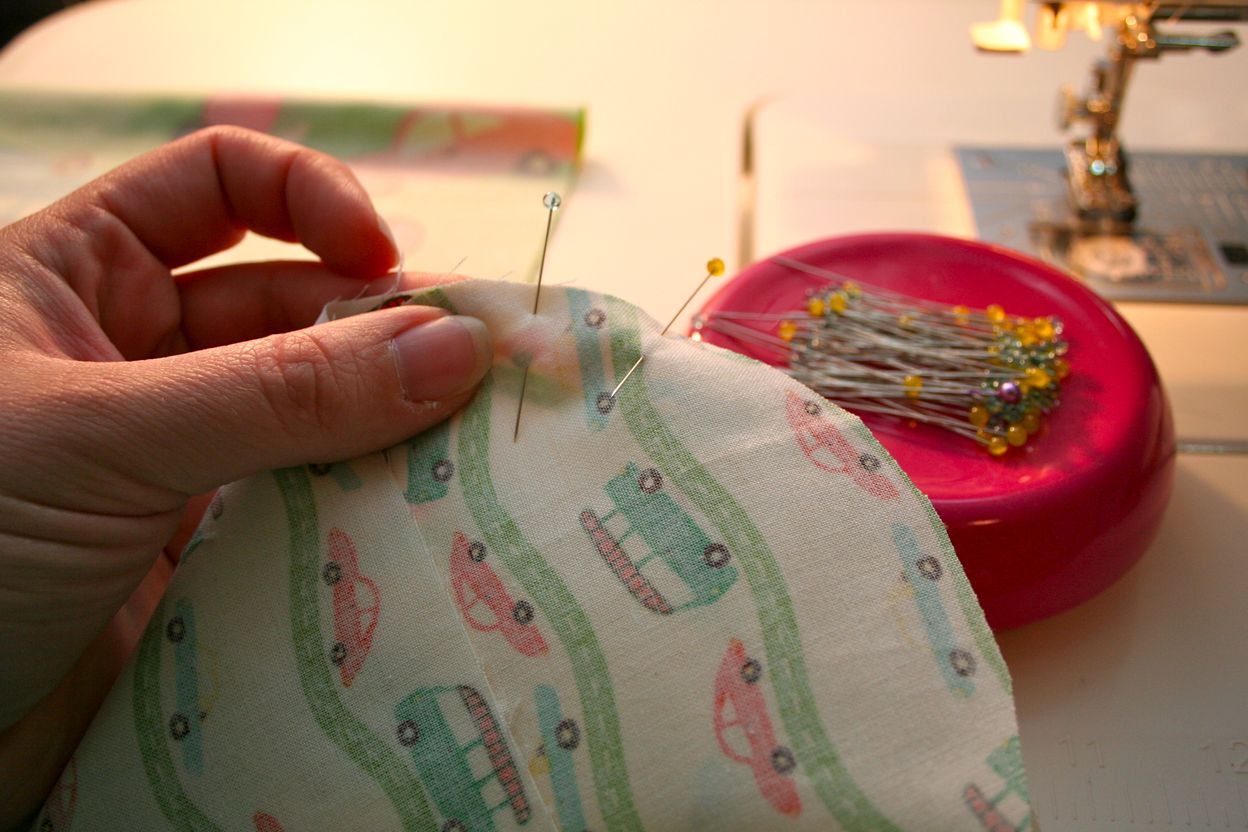
Pin the circles to the BOTTOM of the tube (away from the 1″ opening). Sew the circle to the tube. Repeat for the lining.
Clip around the curve to relieve the tension. Be careful not to clip your stitches!
Turn the outer fabric right side out. Keep the lining wrong side out. Place the outer fabric inside the lining.
Match up the seams. Your two 1″ openings should line up. Sew all the way around the top.
Turn right side out.
Sew the 3″ opening closed- just barely catching the edge of the fabric. Stuff the lining into the bag.
Iron the top flat, gently rolling the inner fabric in just a little (see photo). This makes for a more finished look at the top of the bag.
Make marks (on either the outer or inner fabric) both 3/4″ and 1 3/4″ away from the top.
This might be a good time to change to a more interesting thread color!
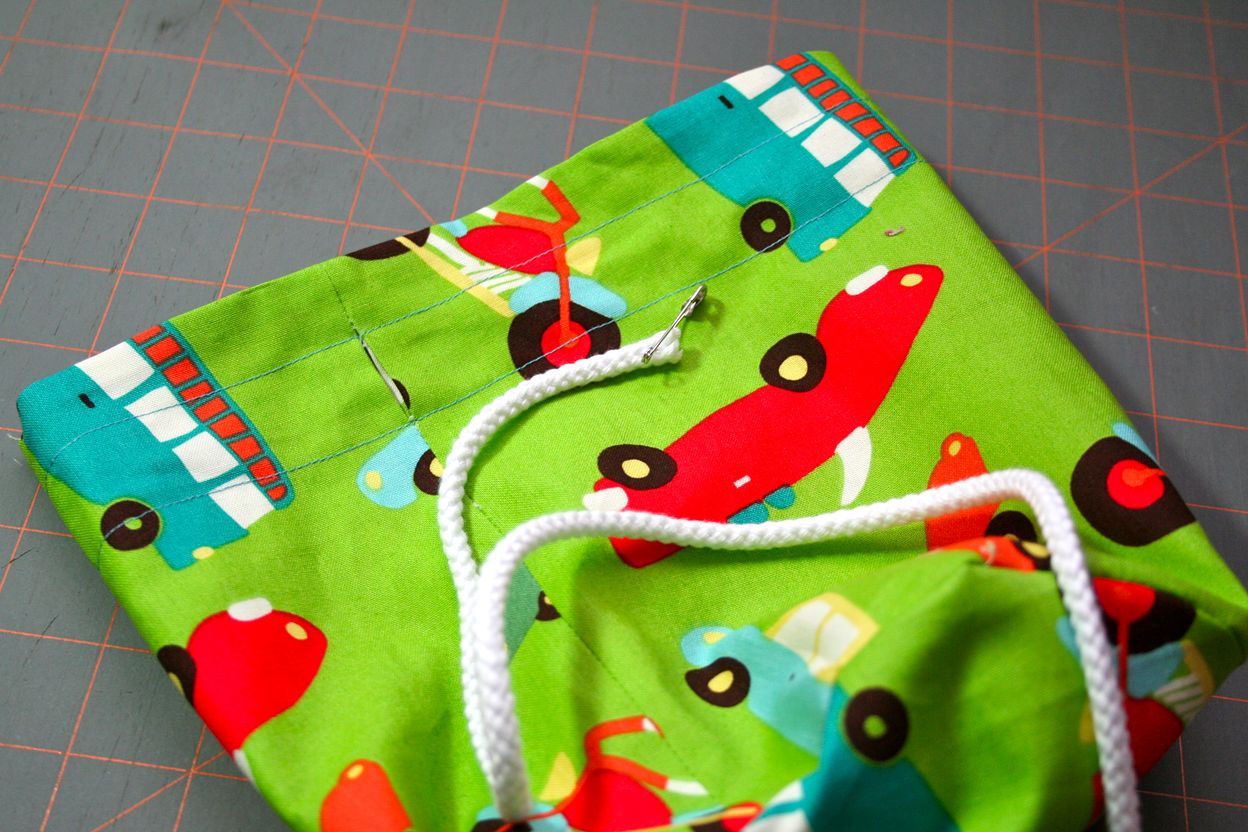
Sew around the top marks. You’ll make two stitch lines to make the casing for the cording.
Using a safety pin, thread the cording through the casing. Tie a quick knot and trim the ends, if necessary.
Stuff with goodies!


0 comments:
Post a Comment