The Ultimate Re-Usable Snack Bag: Machine Washable and Stands Upright. Free Tutorial
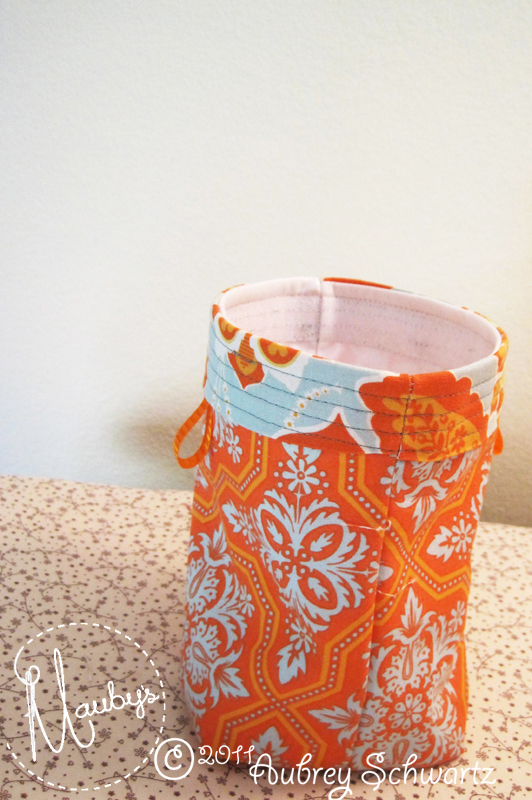
The loops are great for opening the bag and for hanging from those rings for kids -- making it easy for little ones to snack too!
Isn't this a cute bag? Stylish and practical!
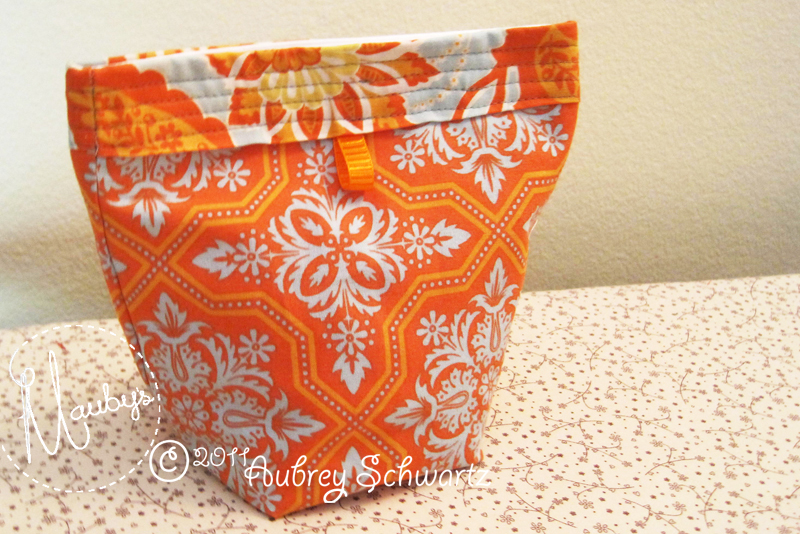
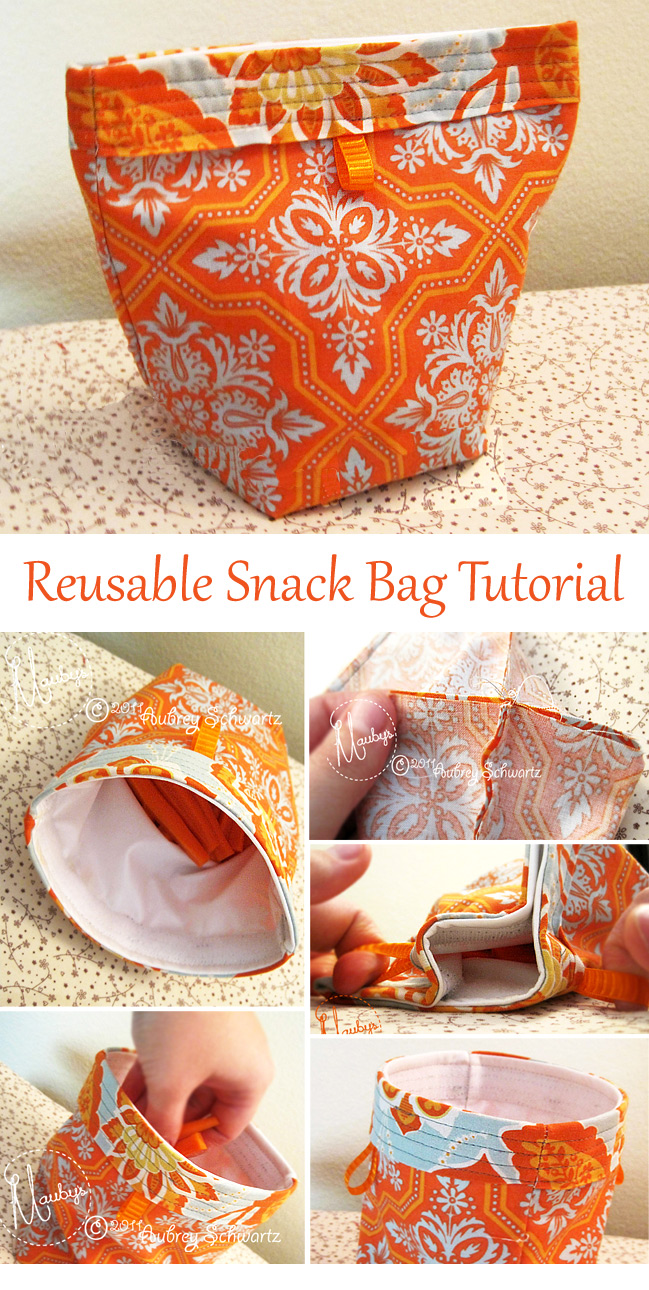
These pouches are shaped super cute and stand on their own.
Perfect for bringing to the office, play date or on the go!
And seriously, I know I've said it before but I adore this heirloom line of fabric by Joel Dewberry. Every time I make something else with it, I fall in love all over again. The pictures just cannot do it justice.
MATERIALS
2, 8" x 9" Rectangles of Cotton Quilting Fabric
2, 3" x 8" Scraps of Coordinating Fabric
2, 4" Pieces of Ribbon
2, 8" x 9" Rectangles of Polyurethane Laminate (PUL)
8" Piece of Hook and Loop
DIRECTIONS
1. Take the 8" x 9" pieces of fabric. The 8" is the width, and the 9" is the height. Cut out a 2" square from the bottom of the right and left each rectangle.
2. Take the 3" x 8" strips of fabric and fold them in half lengthwise, wrong sides together. Press.
3. Line up the raw edges of the folded strip with the top of the right side of one of the 8" x 9" rectangles. Sew with a 1/4" seam allowance.
4. Repeat with the remaining rectangle.
5. Set aside both pieces.
6. Take the pieces of PUL and repeat step 1 with them. Then measure 1" down from the top of one and sew the hook strip to it. Repeat with the remaining PUL piece and the loop strip.
7. Place one of the PUL pieces on top of one of the cotton pieces, right sides together, tops on tops, and bottoms on bottoms. Sew along the top seam ONLY with a 1/4" seam allowance.
8. Open the seam and press. Press the seam on the back down toward the PUL and the strip on top of the cotton down toward the cotton fabric. Repeat steps 7 and 8 with the other cotton fabric and PUL pieces.
9. Place the pieces just created in step 7 & 8 on top of one another, right sides together. Place the cotton fabric on top of the cotton fabric and the PUL on top of the PUL. The hook and loop will connect.
10. Sew down both long sides, from the top of the 2" PUL corner to the top of the opposite 2" cotton fabric corner, with a 1/4" seam allowance.
11. Sew along the entire bottom edge of the cotton fabric, from the edge of the 2" square to the edge of the opposite 2" square with a 1/4" seam allowance. Do NOT sew the square corners.
12. Go to the PUL and sew only beginning and end of the bottom piece from corner to corner, leaving a 2" turning gap, in the center for turning right side out.
Now it's time to make those nice square corners!
I often use a different method for making square corners, but it doesn't always make the most even or square corners(see step 6 in this tutorial). This is another method that I often forget about but that was reinforced recently by Trish over at Two Peas in a Pod Designs!
13. Grab each corner of the cut square and pull them out away from one another, bringing the side seams toward one another and nesting them together.
14. Sew with a 1/4" seam allowance.
15. Repeat with the PUL corners.
16. Turn bag right side out, going through the turning gap left in the bottom of the PUL, pull the fabric and PUL through the turning gap.
17. Along the turning gap, tuck the edges of the PUL in about 1/4" - 1/2" and pin.
19. Tuck the PUL into the cotton fabric creating a bag.
20. Fold one ribbon in half.
21. Find the center of the side of the bag and tuck the ribbon under the flap at the center. Tuck the raw edges of the ribbon all the way up to the seam. Pin the ribbon in place.
22. Stitch along the top of the bag with a 1/4" seam allowance.
23. Stitch around the top of the bag another 1/4" in from the previous stitching.
24. Repeat step 23 over and over until you get to the end of the flap.
25. And Viola! One super cute bag!
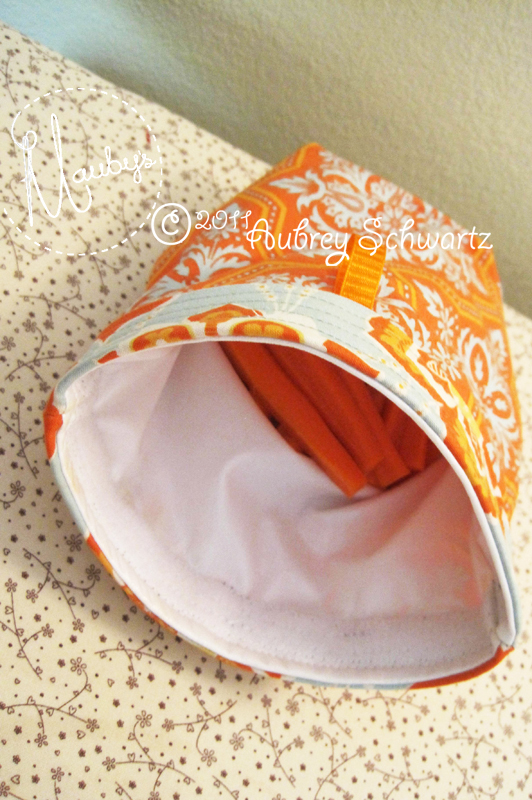
The ribbons make this bag super easy to open. Put one finger from each hand in the center of each loop.
Then pull them away from one another, opening the bag.
Snack Time!
Yummy!


I also wanted to say thanks for sharing this great tutorial! Ive made several with anorher pattern but this looks even better!!
ReplyDeleteI would also like to add that PUL is not food safe. I have been using Rip Stop Nylon which is food safe and can be found in the same area as PUL at your fabric store, it comes in several colors.
Happy crafting!!