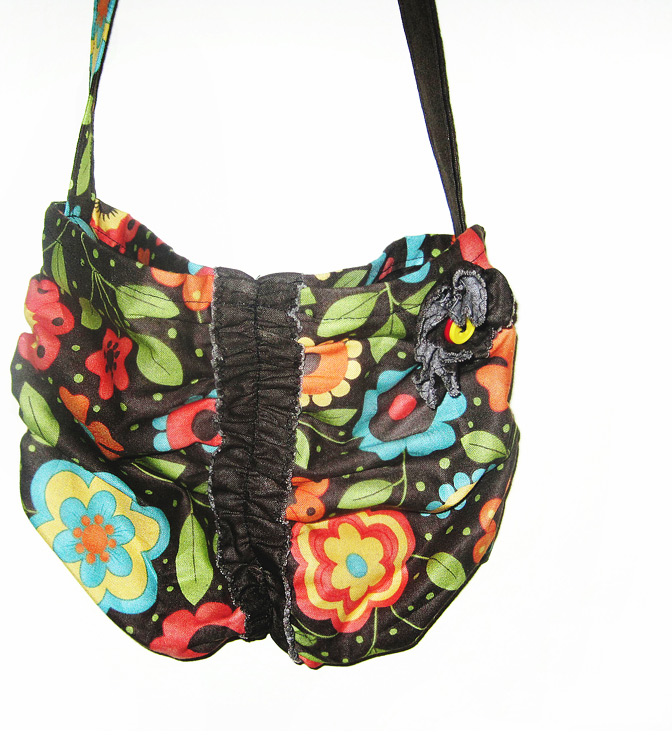
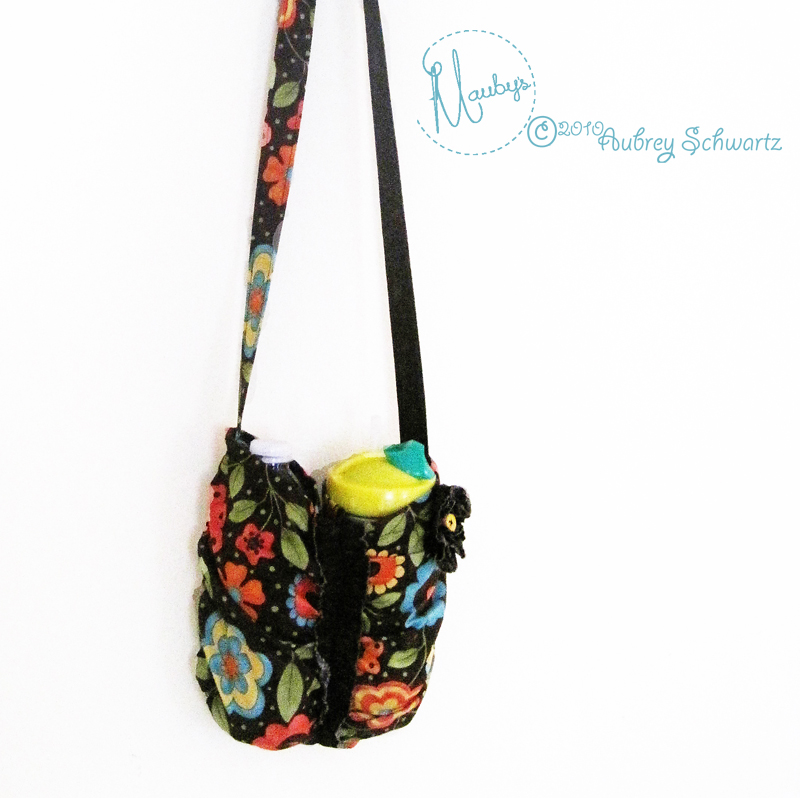
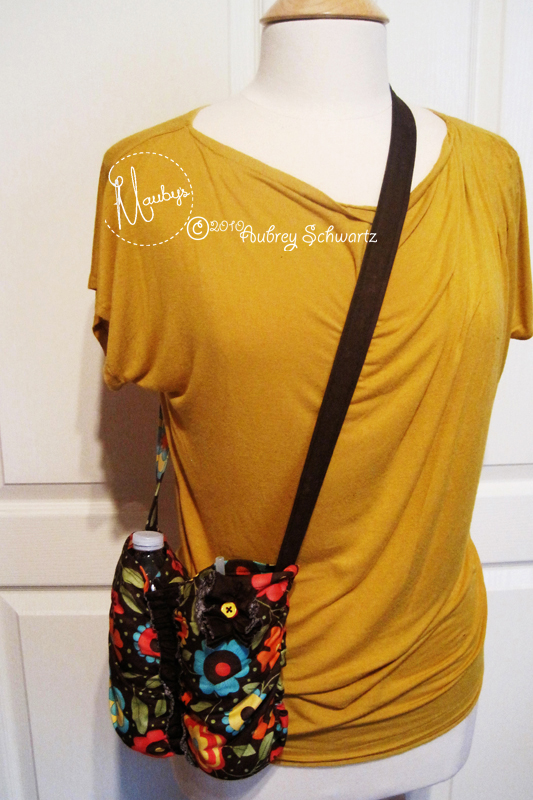
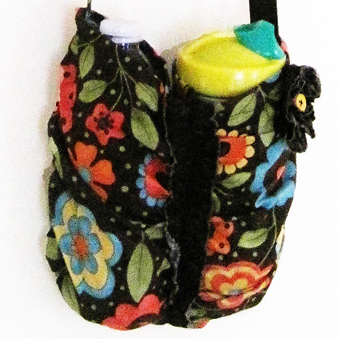
This purse is just the right size to fit 2 water bottles over your hip OR it is also great for any little girls in your life who need to carry around special toys.
Betsy here is modeling it for me because I was too comfy in my fuzzy pants to take a picture of me wearing it. ;)
Materials:
2 Fat Quarters
Coordinating Thread
Optional embellishments: Buttons, rick rack, ribbon, etc.
Instructions:
1. Choose one of your fat quarters as the outside of your purse and one for the lining of your purse.
For this tutorial the outside fabric will be the flower print and the black/brown fabric will be the inside fabric.
2. Line up the two fat quarters so that they are exactly on top of one another.
Cut 4" off the side that was 18" wide.
So that your fat quarters measure 14" wide by 22" long.
Set aside the 4" x 22" pieces for later.
3. Take just the inside fabric and cut off an additional 1 - 1/2" from the now 14" width.
Now your inside fat quarter will measure 12 - 1/2" wide by 22" Long.
4. Now take the inside fabric again and cut off 2" from the 22" length so that your inside fat quarter now measures 12 - 1/2" wide by 20" long.
5. Lay out the outside fabric, print side down.
Place the inside fabric on the top and center of the outside fabric right side up, so that the outside and inside fabric are wrong sides together.
6. Fold the length side (22") of the outside fabric, wrong sides together, over to meet the inside fabric and press.
Fold again at the meeting line so that the outside fabric lays over the inside fabric and the raw edge of the outside fabric is now folded in.
Pin and stitch with the intent to ruffle (click here if you need to learn to ruffle)
Repeat with the opposite side.
7. Draw a lengthwise line down the center of the inside fabric.
Stitch a ruffle stitch on this line.
8. Ruffle all three lines.
9. Take the 1 -1/2" inside strip you cut in step 3 and do a smaller zig-zag stitch along the edge with the tension set high.
This will create a scalloped kind of edge on the strip, lightly pull out any fabric strands that fray.
Ruffle the strip by stitching down the center.
10. Take the purse piece from step 8 and look at it print side up.
Place the strip from step 9 and line it up on top of the center of the purse.
Stitch the strip to the purse pieces.
11. Fold over the purse pieces in half widthwise so that the printed sides of the fabric touch.
Sew the two outside edges together creating a "bag".
12. Take the excess outside fabric that remains along the top of the purse and fold it in to meet the inside fabric, then fold again to close in the raw edge and overlap the outside fabric over the inside, just like was done with the sides of the purse in step 6.
Sew the folded over top in place.
13. Take the two 4" by 22" pieces from step 2 and sew them together along the 4" edges, right sides together, using a 5/8" seam allowance, creating one long 4" by 42 -3/4" strip.
14. Fold the widthwise edge over 1" and Press.
Fold the strip in half lengthwise, wrong sides together and press.
Unfold and fold in the sides to to meet at the folded line wrong sides together.
Fold in half again, closing in the raw edges. Edge stitch along all edges of the strap.
15. Sew the strap into the purse by pinning the widthwise edges into the bag at the side seams created in step 11 and then sew right on top of the stitch line you made to finish the top of the bag in step 12.
16. All done. Unless...I added a stitch line down the center of the purse creating two bottle sized pockets.


0 comments:
Post a Comment