Supplies needed
Fabric
Thin batting
Bias Tape
Gallon size ziplock bags
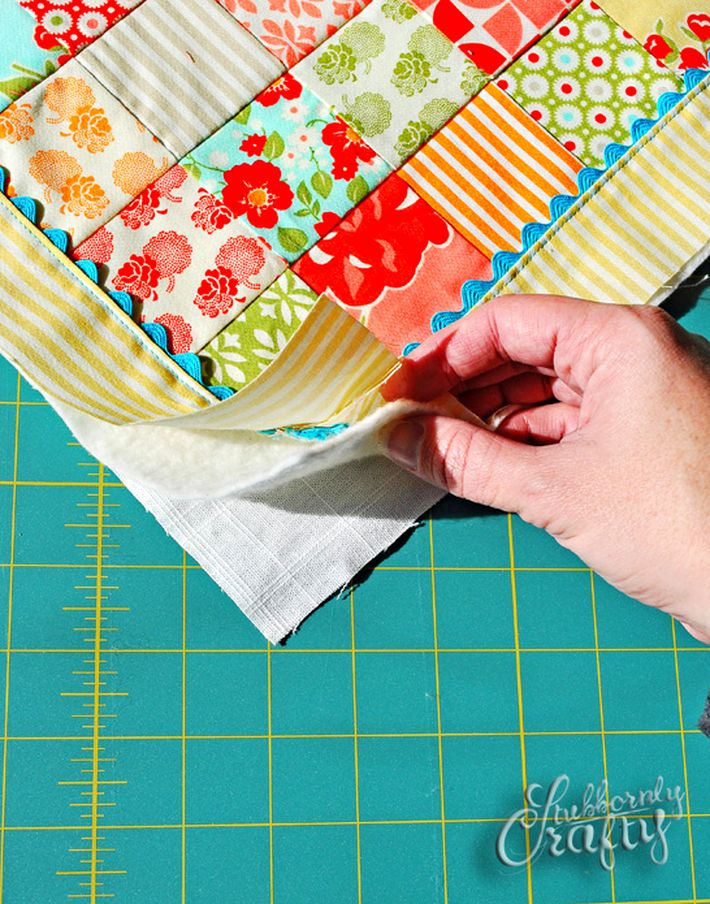
Here is a quick explanation on the outside. It’s pretty simple (sewing two pieces of fabric together with a bit of batting) so I won’t take too much time going into detail.
Cut your fabric out. For the front, back, and batting cut each 12.5″x20.5″. For the sash, cut your fabric 4.5″x35″. Sandwich your front and back, right sides out with the batting in between. Bind together. You could go the super easy route and use a store-bought fabric place mat too. Or you can fancy it up a bit and do some piecing like I did.
Now for the real how-to:
Take your ziplock bags, line them up, and pin them together at the bottom. They are slippery little suckers so it might take a minute to get them to behave. Once you have them pinned, measure 8 inches down and draw a line on your top bag.
Sew a straight line through all the layers and then cut right below the line. You can leave it like that or use bias tape to make it look a bit more clean.
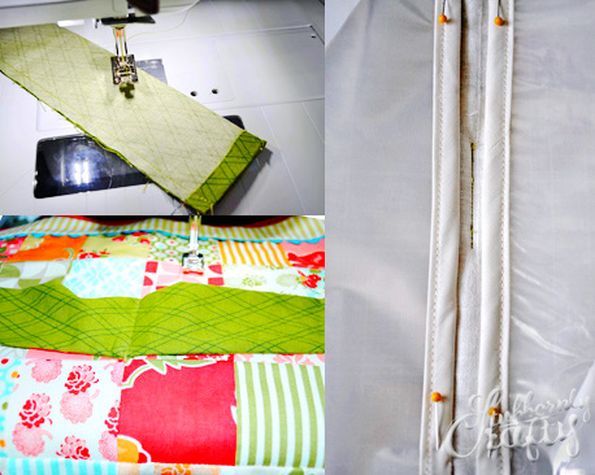
Now for the sash. Fold your piece of 4.5″x35″ fabric in half and iron. Iron the ends in 1/4″. Sew the side up and then flip. Top stitch the ends closed.
Measure where the middle of your cover is and stitch the center of your sash down. Then on the inside, pin your bags on either side of the sash stitching. Sew down.
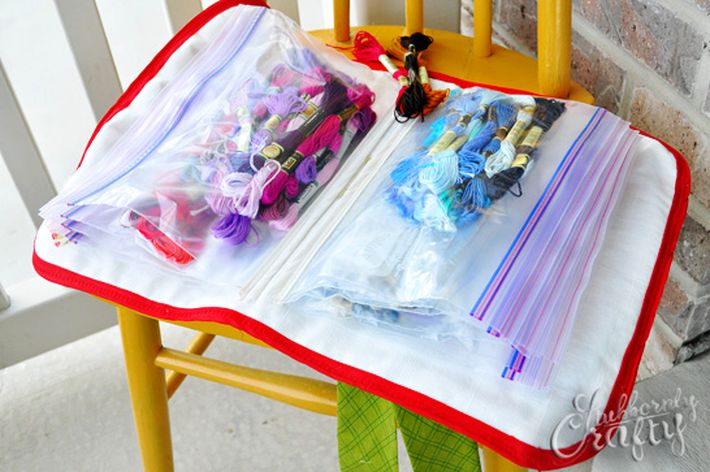
Fill your bags with your embroidery floss or other goodies, fold it closed and tie your sash and there you have it!


0 comments:
Post a Comment