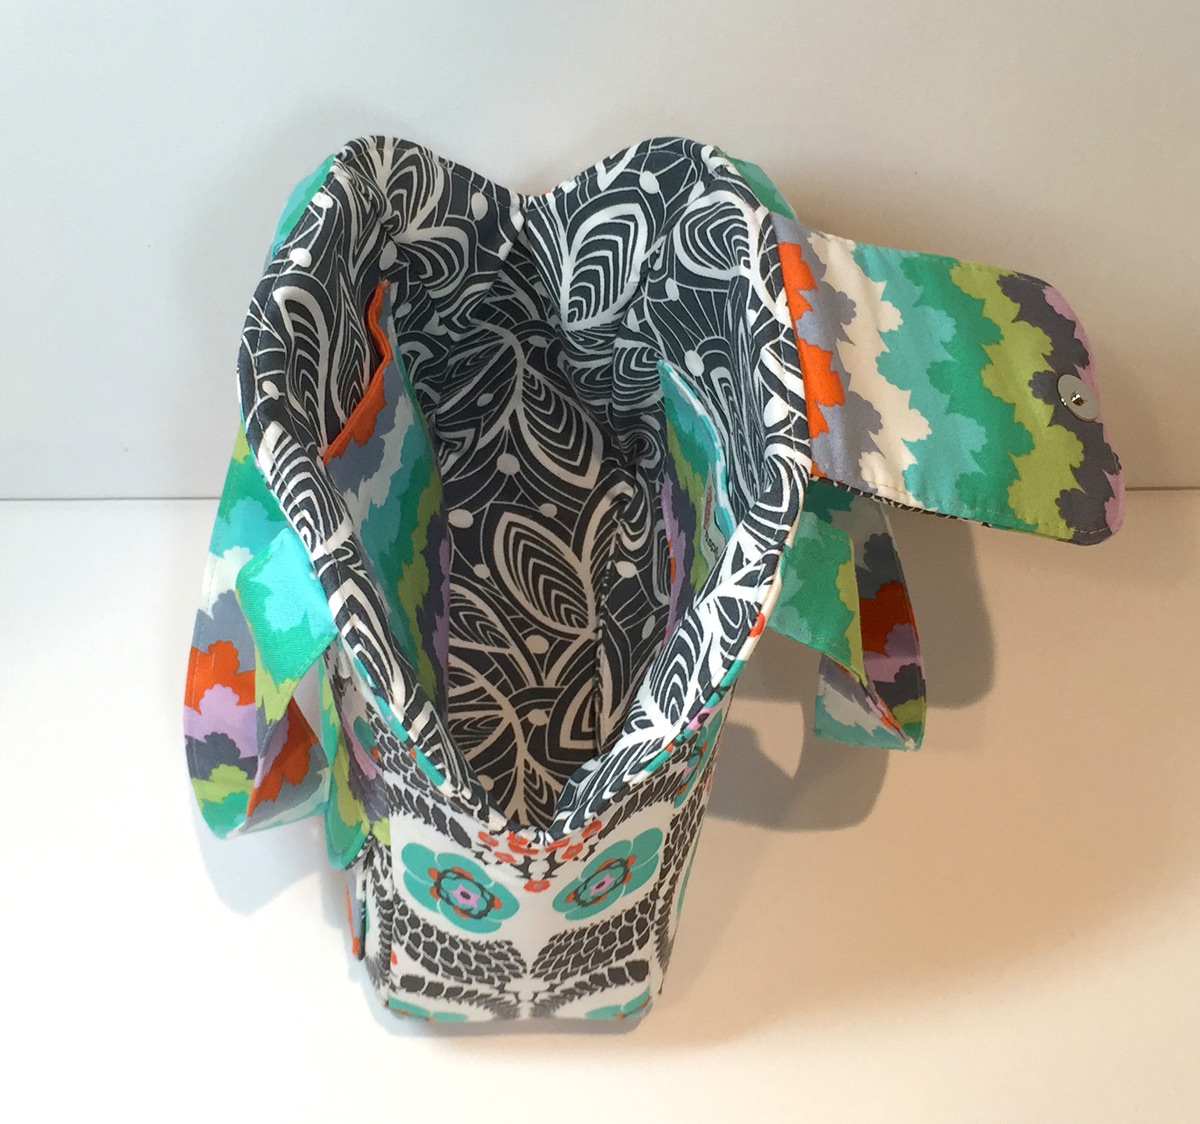
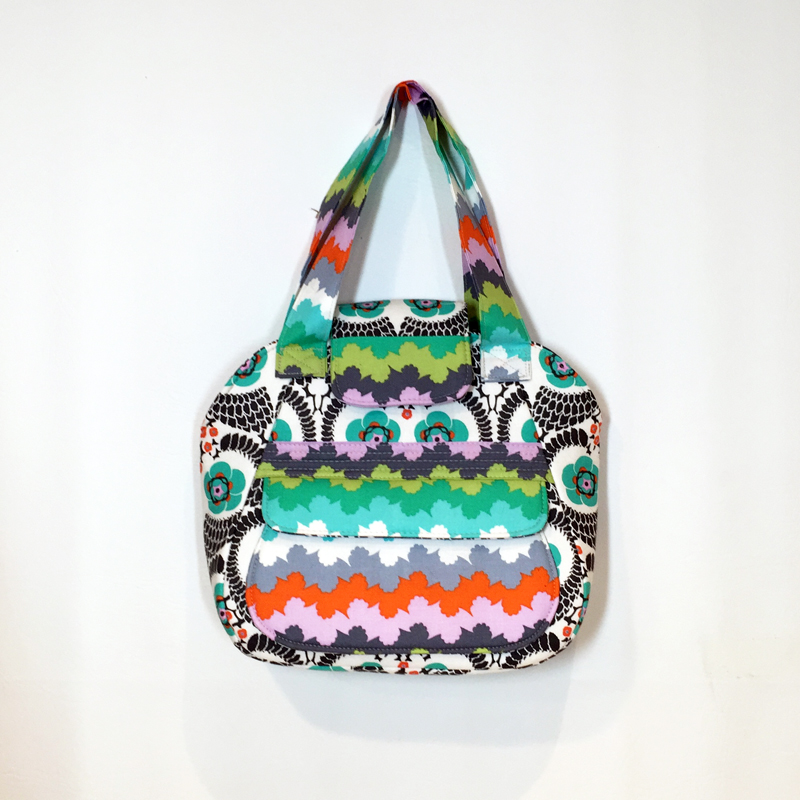
The Spring Fling Handbag is a good project for a confident beginner, and easily customizable for sewists with more advanced skills. With just one yard of fabric you can welcome spring with a new bag!
My original idea came about after thinking of all the small bags I use to carry around as a young girl. (Yes, my obsession with bags has gone on a long time!) A nice rounded bag ready to transport treasures, velcro or magnet closure for safety and straps easy to hold in the hand or arm.
This bag is easy to sew up and perfect for that confident beginner. If you have experience sewing bags, it is also very easy to customize!
Download your free PDF Spring Fling Handbag pattern and tutorial!
Finished Bag Size: Approx. 9” x 8.5” x 4”
1/2 yard Exterior Fabric
1 piece 2 1/2” x 3/4” hook & loop tape
1 yard Pellon SF101
Iron
Cutting Instructions
From your exterior fabric, cut the following:
A 2 main panels, cut on fold
B 1 exterior main pocket
C 1 flap TOP
D 1 gusset, cut on fold
E Interior pocket pieces
From your Soft & Stable, cut:
A 2 main panels, on fold
B 1 exterior main pocket
F 1 flap back
D 1 gusset, on fold
H 1 exterior pocket flap
From your interior fabric, cut the following:
A 2 main panels, cut on fold
B 1 exterior main pocket
C 1 flap BOTTOM
D 1 gusset, cut on fold
F 1 flap BACK piece —> cut 5” x 4”
G 1 exterior accent piece
H 2 exterior pocket flap (can use accent fabric too)
From your Pellon SF101, cut:
A 2 main panels, cut on fold
B 1 exterior main pocket
D 1 gusset, cut on fold
H 1 exterior pocket flap
Attach by Annie’s Soft and Stable to Exterior Pieces
1. Take Flap TOP and Flap BOTTOM pieces out and pin right sides
together along the long side. Sew together 1/4”. Press open. Set aside.
2. With remaining Soft and Stable pieces, pin them to their exterior fabric
pieces: Both exterior main panels, exterior gusset, exterior pocket panel,
exterior pocket flap and main panel closure flap that you just made.
3. Baste stitch around all sides so the fabric and the Soft and Stable are
attached together. Set aside. Take Pellon pattern pieces out and fuse
to lettered pieces.
Construct Pocket and Bag Closures
4. Take out your magnetic snap, washers and marking pen/chalk. Place your washer 1 ” down and centered on exterior main pocket (see left image). Use your washer to mark points. With the seam ripper, gently make a hole small enough for the end of the magnetic snap to push through. Once pushed through, put a small scrap of Soft and Stable on the backside of the snap before you add the washer. Close prongs facing out.
5. Repeat this step for the INTERIOR pocket flap piece, placing magnet 3/4” from long bottom edge
and centered.
6. Place the exterior pocket lining piece and pin it RIGHT sides together with exterior Soft and Stable
pocket piece. Pin.
7. Leaving a 3” opening along bottom, stitch around all 4 sides using a 1/4” seam allowance.
8. Trim corners and clip edges if you wish to reduce bulk, then flip RIGHT side out and press. Set aside.
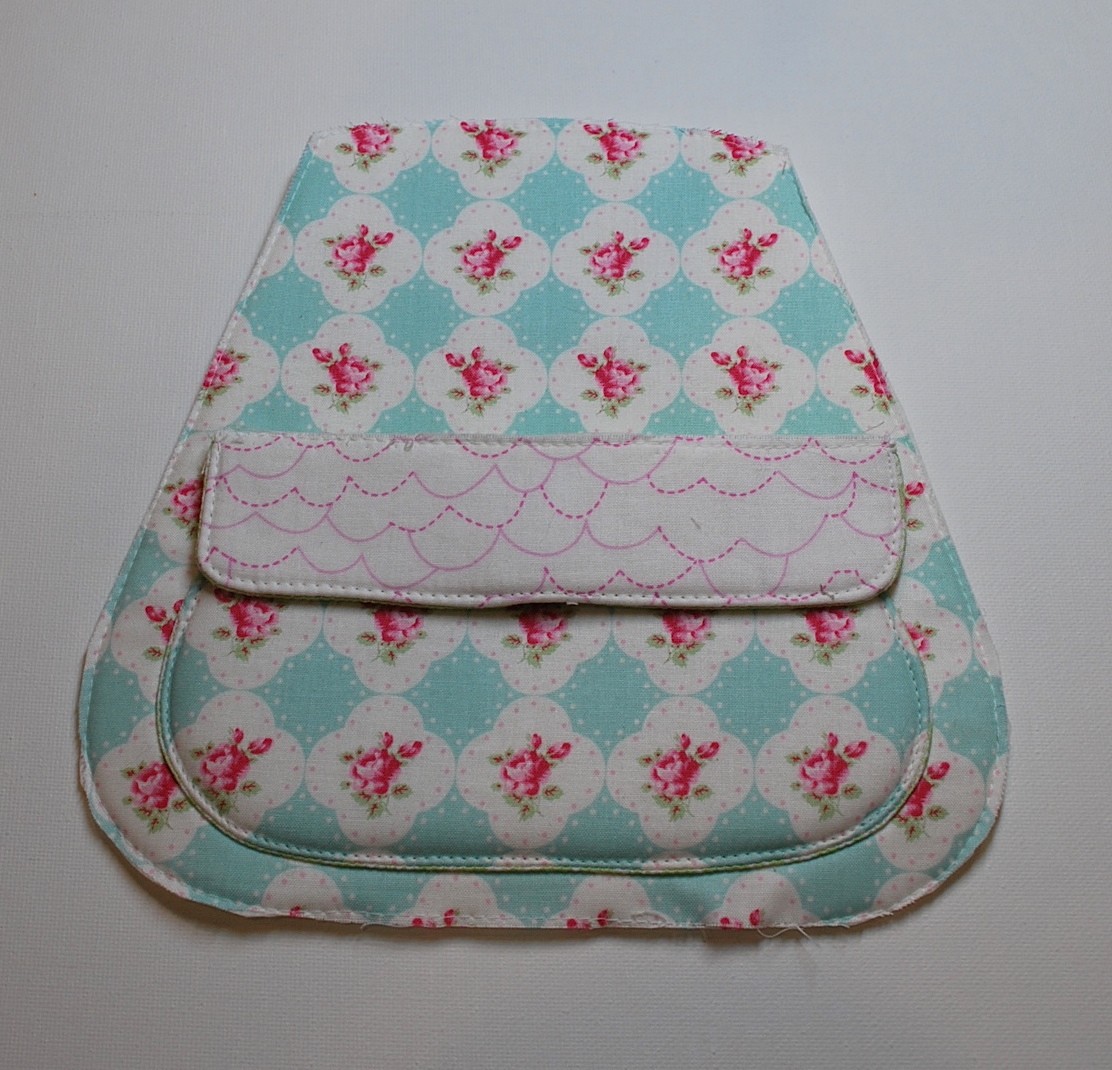
9. For the Exterior pocket flap piece, sew the same way you did for the pocket, but leave the TOP long edge open. Flip right side out and press. Topstitch pocket flap you just made 1/8” from edge. On the exterior pocket piece, topstitch ONLY the top long edge 1/4” to finish.
10. Now that you have a finished top and bottom pocket pieces, we need to attach it to a main exterior panel. Measuring 3/4” around the sides and curve and 4 1/2” from panel top, pin in place.
11. Topstitch the sides/curves and bottom edge only. Backtack a few extra times at start and finish.
12. Take your flap piece with open top and match up the magnetic pieces, snapping them together. Pin flap into place and stitch 1/8” from unfinished top edge to secure it onto the main panel.
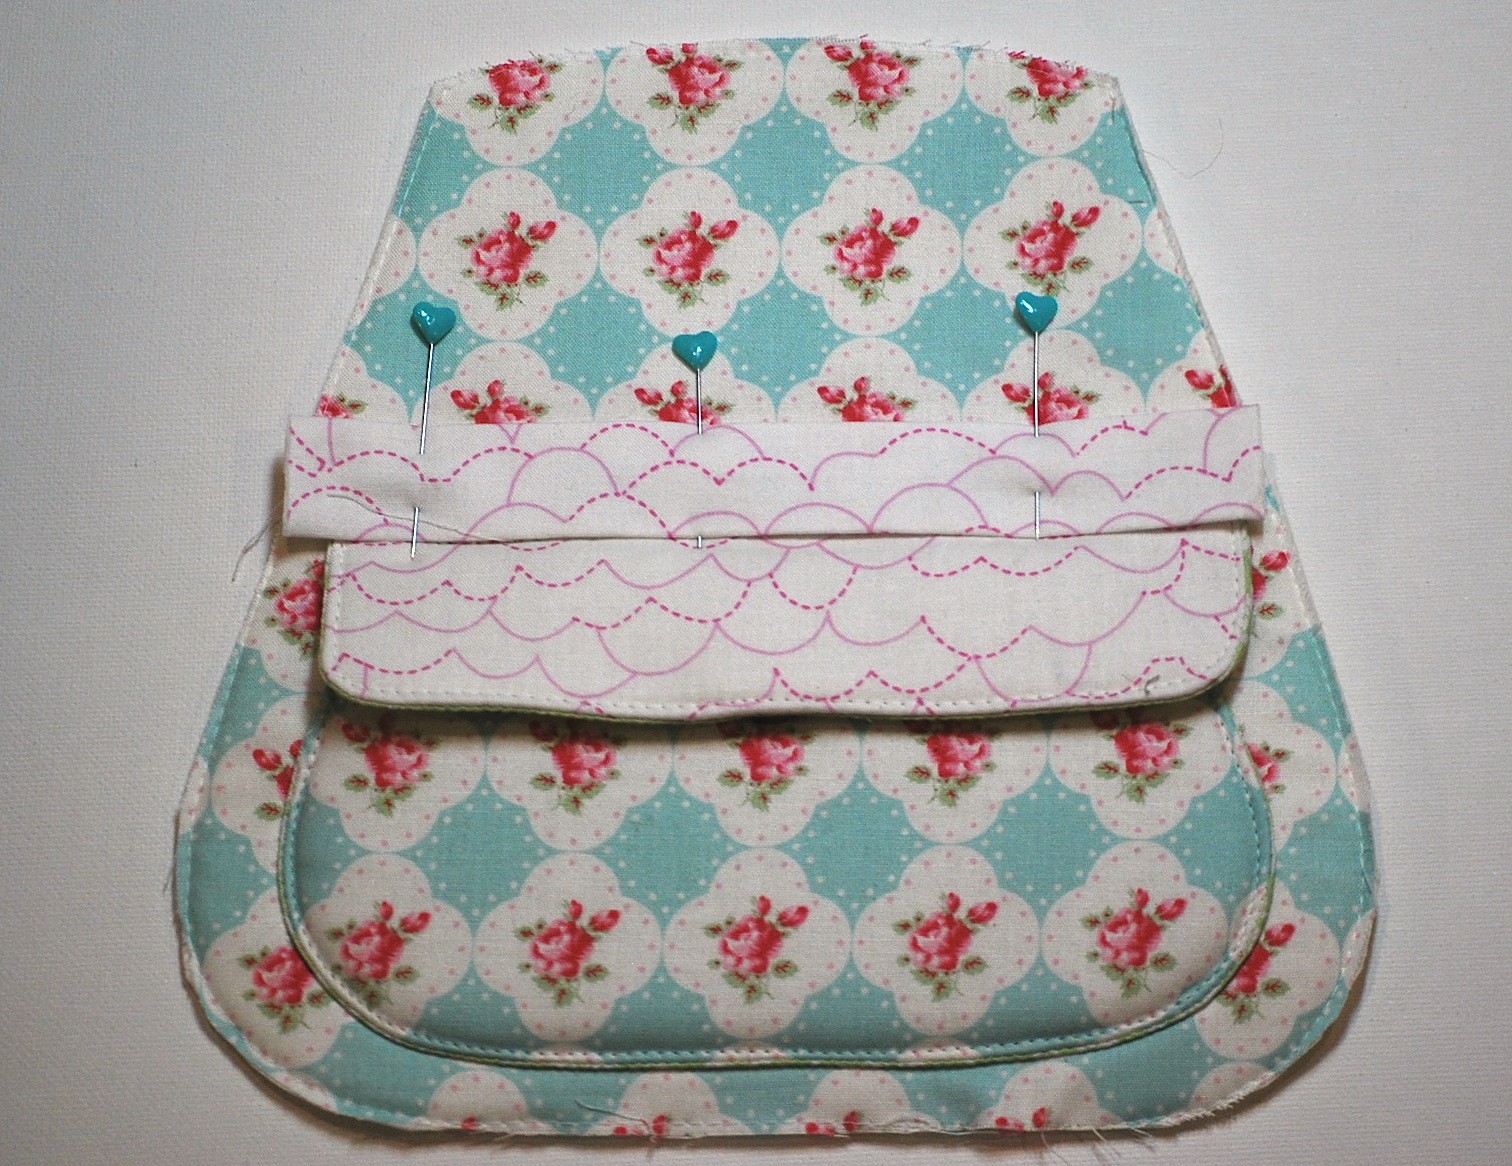
13. Take out the Flap accent piece and fold it in half lengthwise. Press well. Open piece up and take one
long edge and press it towards the center line you just created. Repeat for the other side. Press.
14. The small folded piece you just created will not only be an accent piece or your exterior, it will also cover up the pocket flap opening.
15. Pin this in place so it sits slightly over the top pocket flap (1/4” ) to cover up open edge.
16. Topstitch 1/8” from each edge to finish.
17. To apply velcro to the main bag closure, take your lining flap piece (see below) and center your fuzzy velcro piece 1” from the bottom. Stitch on all 4 sides.
18. Pin main flap closure pieces right sides together. Stitch 1/4” around all 3 sides leaving top unfinished. Cut excess fabric ends if necessary to line up.
19. Clip if needed to reduce bulk then turn right side out and press.
20. Topstitch 1/8” around all 3 sides to finish.
21. Take remaining velcro piece and center it 2”down from top of panel. Pin in place.
22. You can give it a quick test to see if you like the placement. Change if you need to. Sew along all 4
sides.
Attaching Main Bag Closure & Bag Lining Pocket
23. To attach man bag flap closure, find center point of both flap and panel. Mark, then line up pieces and pin. (There will be a small amount of fabric near front center.) Baste stitch 1/8”, then set aside.
24. To assemble the interior pockets, place both fabric pieces right side together and pin. Sew 1/4” around all 4 sides, leaving a 2” opening on one long bottom to turn.
Hint: Before I turn pockets, I press the seams open on the side with the opening. This way, when you turn it and sew the opening closed, you’ll have a pressed line guide to hep you.
25. Clip corners then turn pocket right side out. Press well, then topstitch the top pocket edge 1/4”.
26. Place finished pocket on one side of main lining piece. You will center it vertically, then place the pocket 1 1/2” from bottom edge. Pin.
27. Sew 1/8” on all 3 sides, leaving top open. Set aside.
Attaching Gussets
28. Fold gusset piece and interior lining pieces in half and finger press to find center point. (See image.) With right sides together, begin to pin at this center point and continue to pin until you hit the top edges.
29. Stitch from one end to the other. Remove pins and press seam towards gusset. (Clip curves a little if you need to let fabric move a bit more.)
30. Repeat step 28 & 29 for the other interior lining and gusset side.
NOTE: Do not be alarmed if you have a small tip of your gusset piece hanging over each top edge. You will trim these off.
31. Take out your exterior gusset pieces now and both finished exterior panels . Stitch these together the same way you did in Steps 28 & 29.
32. Press the seams for the exterior open. If you are finding the seams too thick, trim a little of the Soft and Stable down. (Be careful of the seams!)
Assemble & Attach Strap
For Store Bought - 2 1 1/4” x 20” (or what length you prefer) handles of choice. If using, skip to Step 39.
Handmade - 2 5” x 21” fabric strips to make your straps.
To make your straps:
33. Fold first piece of strap fabric in half lengthwise, wrong sides
together. Press, then open again.
34. Take raw long ends from each side and fold so they meet the middle pressed line you just created. (See image) Press well.
35. Fold one folded edge over to meet the other folded edge. Press. (It will look like a piece of double fold bias tape.)
36. Completely open up the strap you just made. Take each shorter raw edge and fold it up 1/2” and press. Once each edge is pressed, re-fold your strap and press one last time.
37. Repeat all of step 33-36 for the remaining strap.
38. Topstitch 1/8” from ends around ALL 4 sides.
39. To attach straps, place one finished end 1 1/2” down from the 4” side seam. (See images.) Pin.
40. Repeat with other 3 strap ends. There should be 4” between straps, enough for the main flap piece
to go through.
41. Stitch an “X” mark to at the bottom of each strap to secure to bag. (3/4” or so.)
Attaching Lining and Bag Finishing
42. Place bag lining into the exterior piece RIGHT sides together. Pin, then stitch 1/4” around all edges of bag.
Note: Before you turn the bag right side out, make a tiny clip on each side point to help ease fabric when you turn it out.
43. Remove pins and turn bag right side out using the hole you left open in your lining.
44. Give your new bag a good press. Make sure all edges have been pushed out and sew or hand stitch the turning hole closed.
45. Topstitch top edge 1/4” to finish your bag. This is optional, but it looks really nice.
All done! Congrats!


0 comments:
Post a Comment