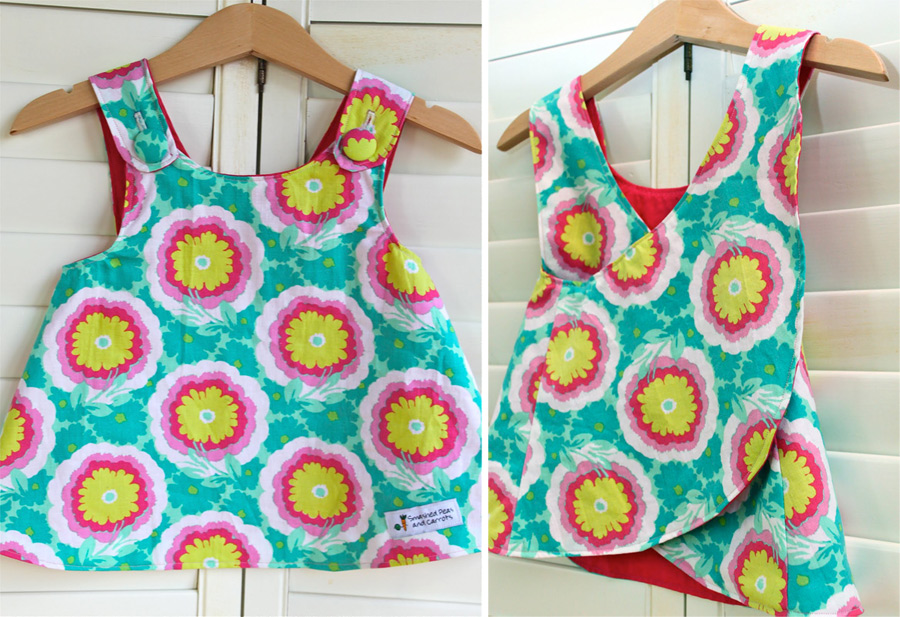
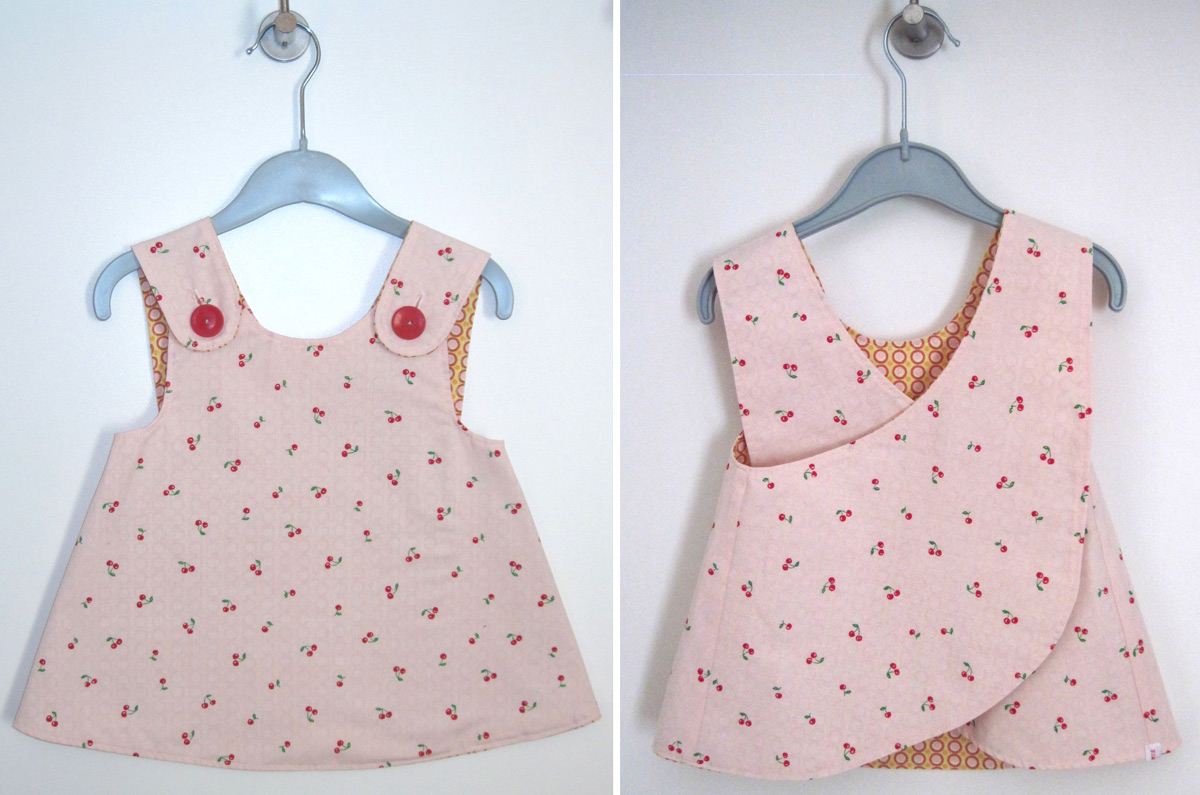
The pattern for the Little Girl’s Crossover Pinafore that I’m sharing is for ages 6-12 months but really you could use it well beyond that age range as the pinafore could become a tunic and top later on as your little sweet pea grows.
What I love even more is that the finished dress showcases two beautiful fabric designs, swoon! A beginner sewist could definitely sew this with no problems.
Ok, let’s begin!
Little Girl’s Crossover Pinafore (ages 6-12 months)
1 yard of fabric for the outer fabric
1 yard of fabric for the inner fabric
two buttons (I love using covered button kits…they rock!)
coordinating thread
sewing machine
scissors
rotary cutter and mat
the pattern pdf
First, print out the Pinafore 6-12mo.
*If you are having trouble lining up the pattern pieces you may need to change your printer settings. When you choose to print and your printer settings pop up, check to see if your printer is set to “fit to page”. If it is, you need to click the “scale” setting and make sure the scale is set to 100%. Many times that is why the pattern is off and doesn’t line up properly! If that doesn’t work (which it should!!!) and the pattern lines are slightly off, know that the pinafore should still work out fine! There is a small margin for error that you should be able to work within!
Next cut one Front piece (using the pieces labeled F1, F2 and taping them together) from both the outer and inner fabrics doing so on the fold. Then cut two Back pieces (using the patterns pieces B1, B2, B3 taped together) each from the inner and outer fabrics.
*The picture above just shows the outer fabric pieces I cut out.
Starting with the outer fabric, place one Back piece and the Front piece right sides together like the picture above.
Sew together using a 1/2 inch seam allowance. I always serge my seams together after sewing to give them a nice finished look as well as a strong seam. You don’t have to though, if you don’t have a serger you could use a zig zag stitch to finish the seam or just use pinking shears to reduce the amount of fraying that will occur over time with washing. On the other hand, if you do have a serger you could just serge the seam. I just choose to do both cause I’m cool like that:-)
Do this for all four seams, two for the outer fabric and two for the inner fabric!
Next, lay your sewn pieces one on top of the other like the picture above. Right sides facing!! Make sure you make a note somehow to yourself to leave about 3-4 inches open at the very bottom center of the pinafore for turning it right-side out. I do this by using a pair of pins very close together on each side of the opening, you can see it in the picture above.
Then, sew around the entire pinafore, minus the 3-4 inch opening at the center bottom, using a 1/2 inch seam allowance.
Once, it is sewn together take a pair of scissors and snip the curves so that when you turn the pinafore right-side out it will lay nicely for you. Make sure not to cut into the seam you just made!!
Then using the opening you left unsewn (you did leave it unsewn right?) go ahead and turn your pinafore right-side out. You may want to use a chopstick to push out all the curves.
Press the entire pinafore and PLEASE don’t skip this step, PLEASE!! It will make your garment go from looking homemade to looking AWESOME!!!
Then, topstitch the entire pinafore using a 1/8 inch seam allowance. Topstitching will also close up that opening we left for turning!
Now for the buttonholes! If your sewing machine makes buttonholes you may have an attachment similar to this above. You separate the left end and place your button in the space to determine how big a buttonhole your machine needs to make…fun!
I usually place the buttonhole over where I need it on my garment so that I can get an idea of spacing and centering. I use a disappearing ink pen to outline the general size of the buttonhole, you don’t have to do this but I like to get an idea of size, etc. My particular machine needs just the short bottom line to start the buttonhole process.
Once you finished your buttonholes, use your seam ripper to open them. I place a pin at one end so that I don’t rip through the buttonhole I just made, tell me just how sad would that be! Now, all that’s left is to sew on your buttons. I usually do this by hand although many machines can do that for you too!
Now dress you little cutie in her new pinafore and you are all set for a hot summer day!
I used Amy Butler’s Morning Glory in Linen for the outer fabric and her Full Moon Polka Dot in Cherry for the inner fabric (both from her Lotus collection). I also used that same fabric to make Eloise a diaper cover too cause I just can’t help myself to a cute little coordinating clothing set!
So vintage apron-esque and So sweet!
Happy Sewing!!


0 comments:
Post a Comment